Last Updated on February 12, 2025 by Souhail
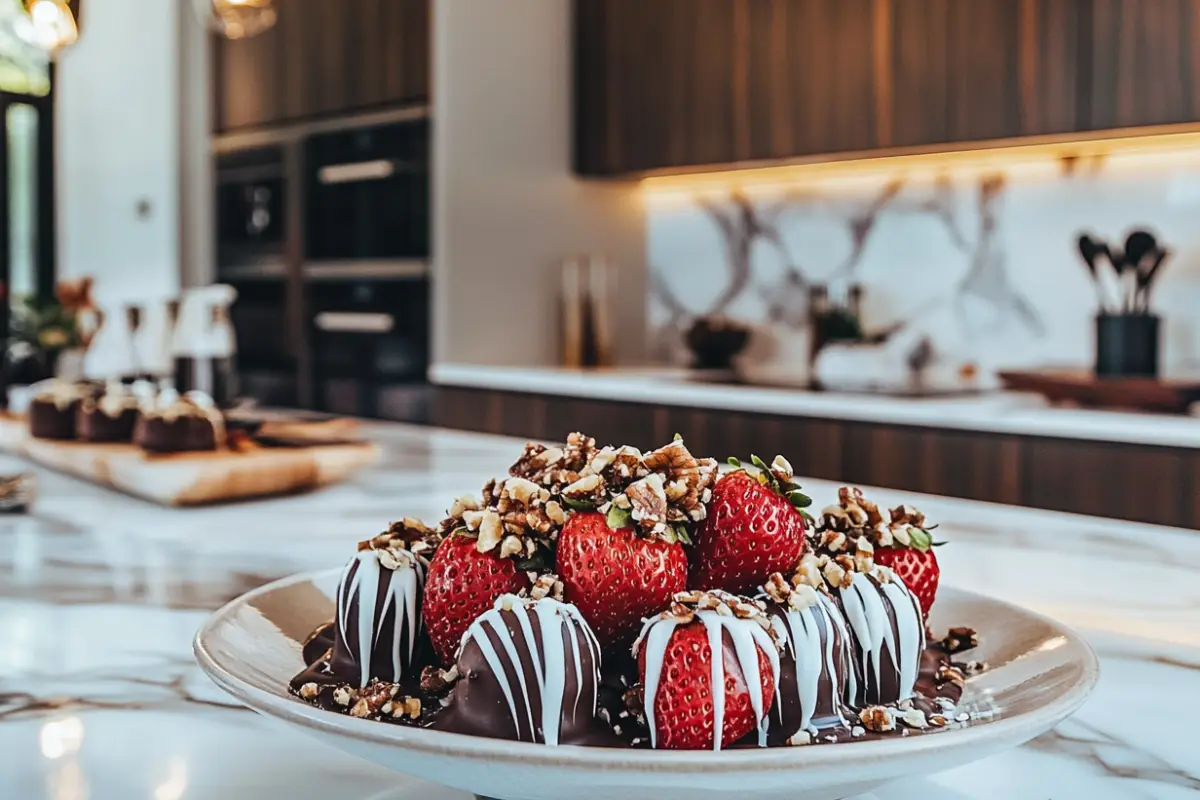
Picture this: glossy, perfectly dipped chocolate-covered strawberries with a satisfying crunch of chocolate coating and the juicy burst of ripe fruit. Sounds heavenly, right? But what if the chocolate clumps, the strawberries weep, or the coating slides off altogether? These common issues can turn an exciting treat into a frustrating kitchen disaster. That’s why knowing what not to do when making chocolate-covered strawberries is just as important as knowing what to do.
This indulgent dessert is a favorite for romantic evenings, festive celebrations, or even as a simple treat to elevate your day. But achieving that picture-perfect finish requires more than just melting chocolate and dipping strawberries. From preparation to storage, there are a handful of potential missteps that can sabotage your efforts. In this article, we’ll uncover all the do’s and don’ts to make sure your strawberries are coated in chocolate perfection.
Whether you’re a seasoned baker or a total newbie, avoiding these mistakes will save you time, effort, and disappointment. Let’s dive into the most common errors people make when preparing chocolate-covered strawberries—and how to sidestep them.
Table of contents
- Why Knowing What Not to Do Is Essential
- Common Mistakes to Avoid When Making Chocolate-Covered Strawberries
- Pro Tips for Perfect Chocolate-Covered Strawberries
- How to Salvage Mistakes When Making Chocolate-Covered Strawberries
- Tools You Need to Avoid Mistakes
- Why Temperature Control Is Key
- Expert-Level Twists to Avoid Pitfalls
- Frequently Asked Questions About Chocolate-Covered Strawberries
- Final Thoughts
Why Knowing What Not to Do Is Essential
Chocolate-covered strawberries may seem like a simple recipe, but the process is surprisingly nuanced. A little mistake—like skipping an important preparation step or using the wrong chocolate—can lead to sticky, uneven, or downright unappealing results. Let’s explore why it’s crucial to avoid common mistakes:
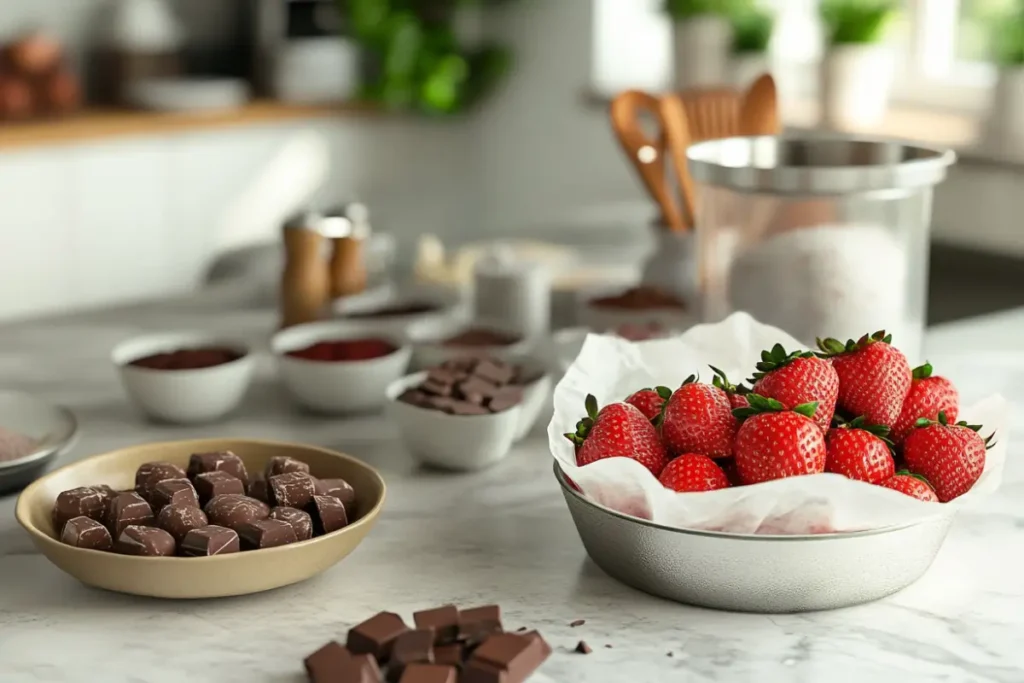
1. The Ingredients Matter More Than You Think
One of the first things to consider is your choice of ingredients. Many people opt for just any chocolate they have on hand, without realizing that not all chocolate melts or sets the same way. Low-quality chocolate may not have the proper fat content, resulting in a gritty texture or streaky appearance. Similarly, underripe or overripe strawberries can ruin the flavor and texture of your dessert.
2. The Process Is All About Precision
When it comes to chocolate-covered strawberries, preparation is key. Skipping steps like washing and drying the strawberries thoroughly or not tempering the chocolate properly can lead to disastrous results. Chocolate that’s too thick or too thin, strawberries that are still wet—these are just a few pitfalls that can completely derail your efforts.
3. A Common Mistake: Rushing the Process
Many people rush through the process because chocolate-covered strawberries look simple. However, patience is crucial. Failing to let the chocolate cool slightly before dipping can cause the coating to be uneven. Not letting the strawberries dry properly before dipping? That’s a recipe for disaster.
4. Improper Storage Can Ruin the Final Product
Even if you nail the dipping process, improper storage can leave your chocolate-covered strawberries sweating, sticky, or worse—inedible. Learning the proper way to store them is a vital part of this dessert’s success.
Common Mistakes to Avoid When Making Chocolate-Covered Strawberries
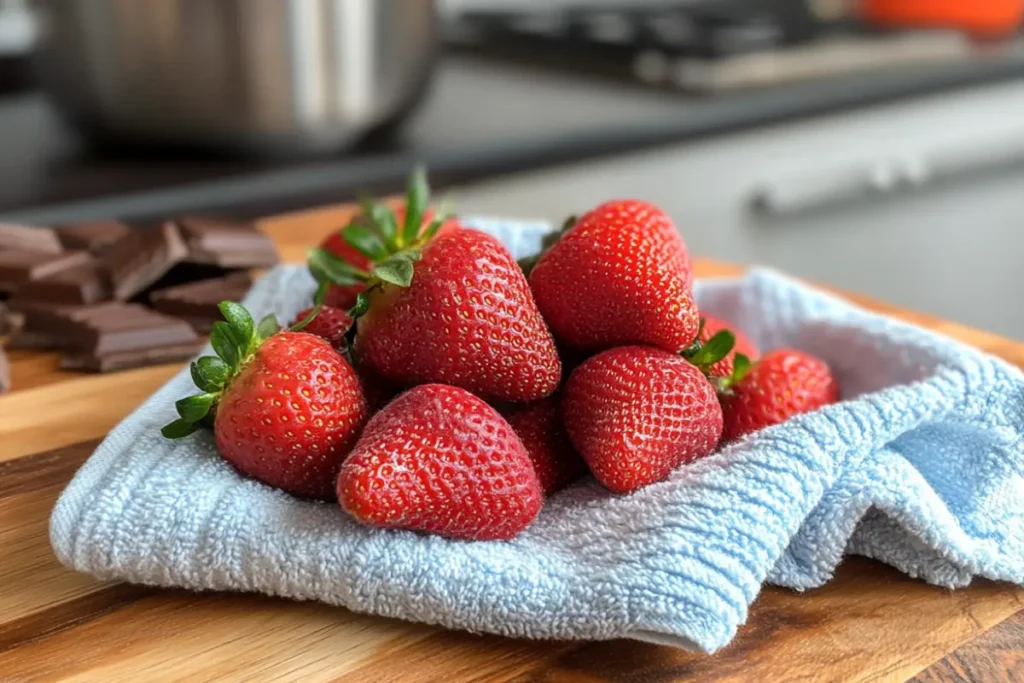
1. Skipping the Drying Step
One of the biggest culprits behind failed chocolate-covered strawberries is moisture. If your strawberries are even slightly damp, the chocolate will refuse to stick. After washing your strawberries, pat them completely dry with a paper towel and let them air-dry for about 30 minutes. Moisture is the enemy of a smooth, glossy coating.
2. Using the Wrong Chocolate
Not all chocolate is created equal. Baking chocolate or high-quality couverture chocolate is ideal for this recipe because it contains the right ratio of cocoa butter, which allows for smooth melting and firm setting. Avoid using chocolate chips, as they contain stabilizers that prevent them from melting properly.
3. Overheating the Chocolate
When chocolate is overheated, it can seize—turning into a lumpy, grainy mess. To avoid this, melt your chocolate slowly using a double boiler or microwave in 15-second intervals, stirring after each interval. Always melt chocolate gently to keep it glossy and smooth.
4. Skipping Tempering
If you want that satisfying snap when you bite into the chocolate, tempering is a must. Tempering helps chocolate set properly and gives it a shiny finish. It’s a step that’s often skipped, but it makes all the difference in appearance and texture.
5. Dipping Cold Strawberries
Many people make the mistake of dipping strawberries straight out of the fridge. Cold strawberries can cause the chocolate to seize or develop condensation, leading to an uneven coating. Always let the strawberries come to room temperature before dipping.
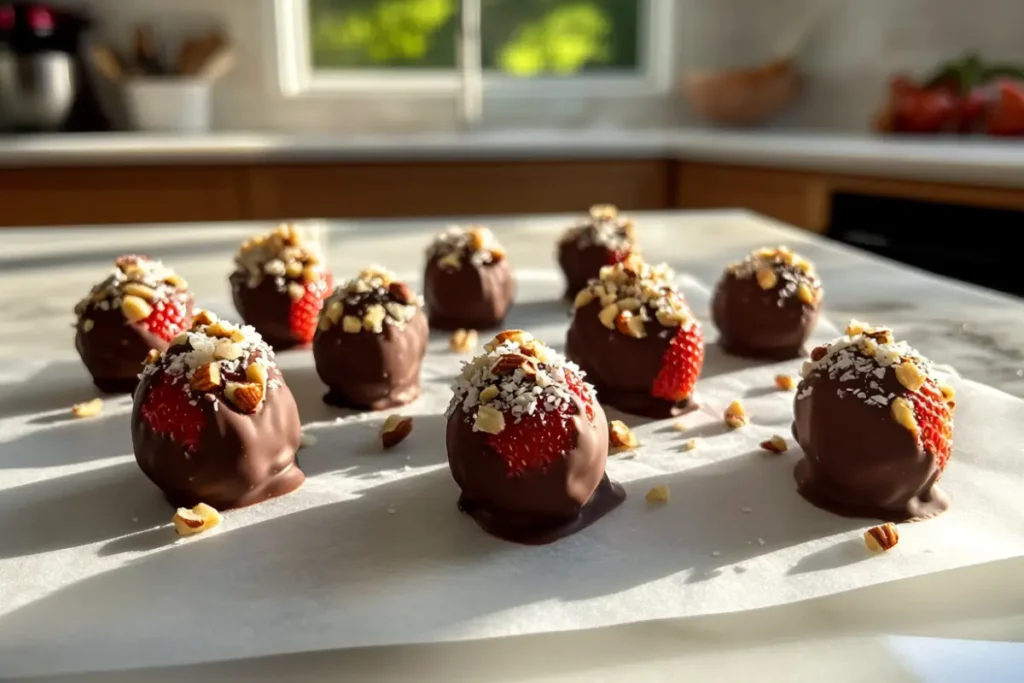
6. Forgetting to Use Parchment Paper
Once dipped, chocolate-covered strawberries should be placed on a parchment paper-lined baking sheet to set. Placing them directly on a plate or tray can cause the chocolate to stick, ruining the smooth finish when you try to remove them.
7. Storing Them Incorrectly
The final—and often most overlooked—mistake is improper storage. Chocolate-covered strawberries should be stored in a cool, dry place, but not in the refrigerator unless absolutely necessary. Refrigeration can cause condensation, which leads to sweating and affects the chocolate’s texture.
Pro Tips for Perfect Chocolate-Covered Strawberries
Now that you know what not to do when making chocolate-covered strawberries, here are some additional tips to ensure your treats are a success:
- Choose Fresh, Firm Strawberries: Opt for bright red strawberries with no bruises. A green, intact hull is a good sign of freshness.
- Chop Chocolate for Even Melting: If using a chocolate bar, chop it finely to ensure it melts evenly.
- Use a Skewer or Fork for Easy Dipping: Insert a skewer or fork into the strawberry to dip it easily and minimize mess.
- Decorate Before the Chocolate Sets: If you’re adding sprinkles, nuts, or drizzle, make sure to do it while the chocolate is still wet.
- Let Them Set at Room Temperature: Allow the dipped strawberries to set at room temperature. Avoid placing them in the fridge to speed up the process.
How to Salvage Mistakes When Making Chocolate-Covered Strawberries
Making mistakes is part of learning, but the good news is that many errors with chocolate-covered strawberries can be fixed! Here’s how to recover from some of the most common issues:
1. What to Do If the Chocolate Seizes
Chocolate seizing happens when even a small amount of moisture or steam gets into your melted chocolate, turning it into a lumpy, grainy mess. Don’t panic—here’s how to fix it:
- Add Fat: Stir in a small amount of neutral oil, such as coconut oil or vegetable oil, or melted cocoa butter, one teaspoon at a time. This can help loosen the chocolate and restore its smooth consistency.
- Start Over for Tempering: If you’re tempering chocolate and it seizes, it’s best to start over with fresh chocolate because the texture won’t be ideal for dipping.
2. Uneven or Streaky Coating
If your chocolate-covered strawberries come out with streaks or bumps:
- Reheat and Redip: Gently reheat the chocolate using a double boiler or microwave (in 10-second intervals). Allow it to cool slightly, then redip the strawberries.
- Add Drizzle: Cover imperfections with a decorative drizzle using white chocolate or another type of chocolate. A piping bag or small spoon works well for this.
3. The Chocolate Won’t Stick to the Strawberries
If your chocolate is sliding off or not adhering:
- Dry Strawberries Thoroughly: Dab the strawberries with a paper towel to remove moisture. Chocolate won’t stick to wet fruit!
- Let the Chocolate Cool Slightly: Overly hot chocolate can slip right off the strawberries. Let it cool for a minute or two before dipping.
4. Sweaty or Sticky Chocolate
If your strawberries start sweating or the chocolate feels sticky:
- Blot Gently: Use a clean paper towel to carefully blot away condensation.
- Fix the Storage Issue: Store the strawberries in a cool, dry place instead of the refrigerator to avoid condensation.
5. Clumpy or Thick Chocolate
If your melted chocolate becomes too thick to work with:
- Thin It Out: Add a teaspoon of vegetable oil, melted butter, or heavy cream to thin the chocolate. Be cautious not to overdo it, as too much can affect the chocolate’s ability to set properly.
6. What If You Overdip?
If you accidentally coat the strawberries too heavily with chocolate, making them clunky:
- Scrape Excess Chocolate: Use a small spatula or the edge of your spoon to scrape away the excess chocolate before it sets.
Tools You Need to Avoid Mistakes
The right tools make all the difference when preparing chocolate-covered strawberries. Here are the essentials to ensure a smooth, mistake-free process:
1. Double Boiler or Heatproof Bowl
Melting chocolate directly over heat can cause it to scorch. A double boiler provides gentle, even heat. Alternatively, you can use a heatproof bowl set over a pot of simmering water.
2. Parchment Paper or Silicone Mats
These are non-stick surfaces where you can place the dipped strawberries to set. They prevent sticking and keep the chocolate’s finish smooth.
3. Skewers or Forks
Use wooden skewers, toothpicks, or a small fork to hold the strawberries while dipping. This minimizes mess and ensures even coating.
4. Microwave-Safe Bowl (Optional)
For quick melting, use a microwave-safe bowl. Heat the chocolate in short intervals (15–20 seconds) and stir frequently to avoid overheating.
5. Cooling Rack
If you want air circulation around your strawberries while they set, a cooling rack can be handy. Just make sure to place parchment paper beneath it to catch drips.
6. Spatulas and Spoons
A silicone spatula is ideal for stirring melted chocolate. Use a spoon for drizzling decorative patterns or removing excess chocolate.
7. Candy Thermometer (Optional)
If tempering chocolate, a candy thermometer is essential. It ensures you hit the precise temperatures needed for melting and cooling.
Why Temperature Control Is Key
Temperature is one of the most critical factors when making chocolate-covered strawberries. Here’s why maintaining the right temperature at every step is essential:
1. Melting Chocolate the Right Way
- Too Hot = Disaster: Overheated chocolate seizes or burns, leaving you with a grainy mess.
- The Ideal Range: Melt chocolate between 110–115°F (43–46°C) for smooth results. Tempered chocolate should stay within 86–90°F (30–32°C) during dipping to ensure a shiny finish.
2. Room-Temperature Strawberries Are a Must
Dipping cold strawberries into warm chocolate causes condensation, which leads to streaks and uneven coating. Always bring your strawberries to room temperature before starting.
3. Chocolate Cooling for Perfect Coating
Letting melted chocolate cool slightly (but not too much) before dipping ensures it adheres smoothly to the strawberries without being too runny or clumpy.
4. Setting Chocolate at Room Temperature
Refrigerating dipped strawberries too soon can cause sweating and dull the chocolate’s finish. Allow them to set at room temperature for the best results.
Expert-Level Twists to Avoid Pitfalls
Want to take your chocolate-covered strawberries to the next level? These advanced techniques will elevate your dessert game and help you avoid even the smallest errors:
1. Use Couverture Chocolate
This type of chocolate has a higher cocoa butter content, making it ideal for smooth melting, tempering, and that professional glossy finish. It’s what chocolatiers use for confections.
2. Add Coconut Oil for Shine
A small amount of coconut oil added to melted chocolate not only thins it out for easier dipping but also gives it a gorgeous glossy appearance when it sets.
3. Dip in Layers
For extra-thick chocolate coating, dip the strawberries once, let the first layer set, and then dip them again. This technique ensures full coverage.
4. Create Marbled Effects
Combine dark and white chocolate for a marbled coating. Use a toothpick or skewer to swirl the chocolates together before dipping.
5. Use Edible Decorations
Level up your strawberries with edible gold leaf, colorful sanding sugar, or crushed nuts. These elements hide small flaws and add a touch of elegance.
Frequently Asked Questions About Chocolate-Covered Strawberries
This usually happens when the strawberries are wet. Even a small amount of moisture can prevent chocolate from adhering. Always pat your strawberries dry with a paper towel and air-dry them completely.
This is called chocolate bloom and occurs when the cocoa butter separates due to improper tempering or temperature changes. To avoid it, temper your chocolate correctly and store the strawberries in a cool, dry place.
Freezing isn’t recommended because the strawberries release moisture when thawed, which can ruin the chocolate coating. Instead, make them fresh and consume within 24 hours.
Store them in an airtight container lined with parchment paper. Avoid stacking them, as the weight can cause sweating or damage the coating.
Absolutely! However, white chocolate is more delicate and prone to burning, so melt it over low heat and stir frequently to avoid scorching.
They’re best enjoyed within 24 hours. If necessary, make them no more than a day in advance and store them properly to maintain freshness.
Final Thoughts
Mastering the art of chocolate-covered strawberries doesn’t have to be intimidating, especially now that you know what not to do when making chocolate-covered strawberries. By avoiding common mistakes—like skipping the drying step, overheating chocolate, or improper storage—you’ll be able to create flawless, mouthwatering treats every time. Whether for a romantic occasion, a party, or a personal indulgence, these glossy, sweet delights are always a crowd-pleaser.
If you’re looking for a healthier spin on this classic dessert, why not try using carob instead of chocolate? Check out our recipe post, Carob Covered Strawberries Recipe: A Decadent, Easy, and Healthy Treat, for a unique twist on this beloved treat. It’s the perfect way to enjoy the same indulgence with a wholesome, naturally sweet flavor that’s equally satisfying. Don’t miss it!