- Use aluminum-free baking powder to draw moisture out and achieve shatteringly crisp skin.
- Thoroughly pat wings dry and avoid crowding the rack for even, non-soggy crisping.
- Start at high heat, then lower temperature; flip halfway and finish with sauce after baking.
- Reheat on a wire rack in a hot oven; store unsauced wings refrigerated up to three days.
Last Updated on March 5, 2026 by Souhail
Let me tell you about the night I finally cracked the code on baked chicken wings crispy enough to rival my favorite Buffalo spot right here in New York. It was a rainy Tuesday, I was craving something crunchy and savory, and my fryer was… well, let’s just say it was taking a permanent vacation.
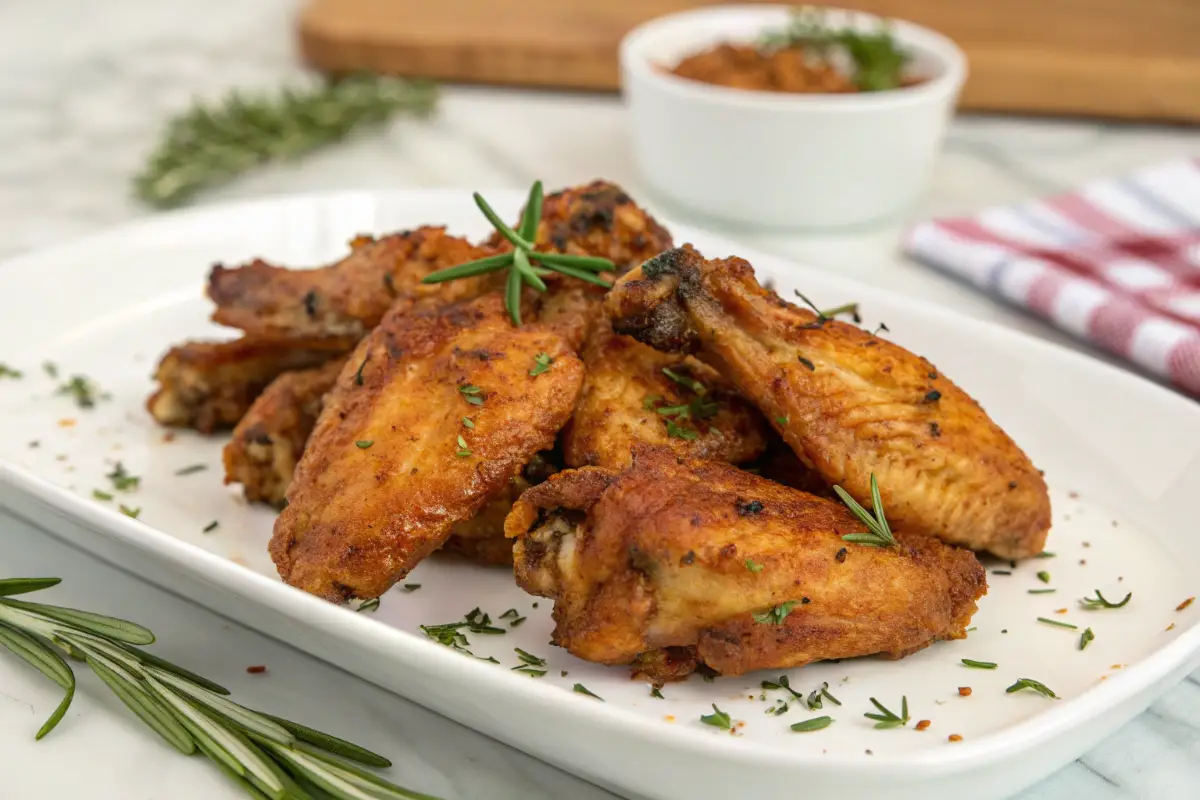
I refused to settle for soggy oven wings, so I experimented, tweaked, and taste-tested until I landed on a method that delivers shatteringly crisp skin, juicy meat, and zero guilt. These baked chicken wings crispy perfection are now my go-to for game day gatherings, cozy weeknight treats, or anytime I need a little edible joy.
The flavor profile is endlessly customizable, but the foundation is simple: perfectly seasoned wings, a clever baking technique, and a finish that locks in that irresistible crunch. What makes this recipe so special is that it brings the takeout experience home, without the mess, the oil, or the wait.
Table of contents
Why This Recipe Works: Your Secret to Crispy Wing Bliss
Let’s be real: nobody wants sad, limp wings. Here is why this method delivers baked chicken wings crispy magic every single time:
- Baking powder is the game changer: A light dusting of aluminum-free baking powder (not baking soda!) draws moisture to the skin’s surface, helping it crisp up beautifully in the oven’s dry heat.
- Patience pays off: Drying the wings thoroughly before seasoning is non-negotiable. Less moisture means more crunch.
- High heat, then lower heat: Starting hot renders fat quickly, then finishing at a slightly lower temperature ensures the meat stays juicy while the skin turns golden.
- Air circulation is key: Using a wire rack over a baking sheet lets hot air circulate all around each wing, so they crisp evenly without getting soggy on the bottom.
- Customizable flavor base: The simple salt, pepper, and garlic powder foundation lets you go classic Buffalo, sticky sweet, or zesty lemon pepper without overpowering the crisp texture.
Love experimenting with textures? If you enjoy crispy appetizers, you might also adore these air-fryer mozzarella sticks for your next snack spread. And remember, this recipe is naturally gluten-free and can easily be made dairy-free by skipping butter-based sauces. For a keto-friendly twist, toss the wings in a sugar-free hot sauce and serve with a creamy blue cheese dip made with Greek yogurt.
Pro Tips for Success: Let’s Get Those Wings Perfect
Okay, friend, let’s talk strategy. I have learned these lessons the hard way so you do not have to:
- Dry those wings like your crunch depends on it: Use paper towels to pat each wing completely dry. Seriously, spend an extra minute here. It makes all the difference.
- Don’t crowd the pan: Give each wing a little personal space on the rack. If they are touching, they will steam instead of crisp.
- Flip halfway through: For even browning, gently flip the wings at the 25-minute mark. Use tongs to avoid piercing the skin and losing precious juices.
- Sauce at the very end: Toss wings in your favorite sauce only after they are fully baked and crispy. If you sauce too early, that beautiful crunch will soften.
- Let them rest: After pulling wings from the oven, let them sit for 2-3 minutes before saucing. This helps the skin set and stay crispier longer.
If you are looking for another protein-packed dinner idea that is equally forgiving, my garlic parmesan chicken is a weeknight hero that pairs beautifully with these wings for a feast.
Variants of the Recipe
One of the best things about this crispy wing base is how adaptable it is. Once you master the technique, you can take the flavor in any direction your heart (or your cravings) desire. Here are a few of my favorite twists to keep things exciting.
- Buffalo Classic: After baking, toss wings in a mixture of melted butter and your favorite hot sauce (I love a 1:2 butter to hot sauce ratio). Finish with a sprinkle of garlic powder and serve with celery and blue cheese. This is the timeless crowd-pleaser that never goes out of style.
- Sticky Honey Garlic: Whisk together honey, soy sauce (or coconut aminos for gluten-free), minced garlic, and a splash of rice vinegar. Simmer until slightly thickened, then toss with baked wings. Garnish with sesame seeds and sliced green onions for a sweet, savory, umami-packed bite.
- Lemon Pepper Zest: Before baking, toss dried wings with olive oil, freshly cracked black pepper, lemon zest, and salt. After baking, finish with a squeeze of fresh lemon juice and a sprinkle of flaky sea salt. Bright, zesty, and incredibly refreshing.
- Smoky BBQ Dry Rub: Skip the wet sauce entirely. Coat wings before baking with a mix of smoked paprika, brown sugar (or keto-friendly sweetener), garlic powder, onion powder, cumin, and a pinch of cayenne. The result is deeply flavorful, slightly sweet, and perfectly smoky wings with maximum crunch.
Serving Suggestions
These crispy wings are the star of the show, but they love good company. For a classic game day spread, serve them alongside cool, crisp celery sticks and carrot ribbons with a creamy dipping sauce. If you want to round out the meal, these wings pair wonderfully with hearty sides like twice-baked potatoes for a comforting, satisfying plate.
For a lighter option, a simple green salad with a tangy vinaigrette cuts through the richness beautifully. Garnish your wing platter with fresh parsley or chives for a pop of color, and always offer extra sauce on the side for dipping.
Presentation tip: arrange wings on a large wooden board or slate platter with small bowls of sauces nestled in between for an inviting, shareable display that looks as good as it tastes.
Storage and Reheating Instructions
Leftover wings? Lucky you. Store cooled, unsauced wings in an airtight container in the refrigerator for up to 3 days. To reheat, place wings on a wire rack set over a baking sheet and warm in a 400°F oven for 8-10 minutes until heated through and re-crisped. Avoid the microwave if you want to preserve that glorious crunch. If your wings are already sauced, gently reheat them in a skillet over medium-low heat, turning occasionally, until warmed through.
For best results, always store sauce separately and toss wings just before serving. You can also freeze unsauced, baked wings for up to 1 month. Thaw overnight in the fridge, then reheat using the oven method above before adding your favorite sauce.
Creative Uses for the Recipe
Do not let leftover wings just sit there! Shred the meat and toss it into a big salad for a protein-packed lunch, or pile crispy wing pieces onto nachos for the ultimate game day upgrade.
You can even chop them up and stir into a creamy pasta for a decadent twist on chicken alfredo. Another fun idea: use the crispy wings as a topping for loaded fries or sweet potato fries.
The possibilities are endless when you start with a perfectly crisp, flavorful base.
How Do You Make It
Baked Chicken Wings Crispy
4
servings10
minutes50
minutes285
kcalBaked Chicken Wings Crispy: Your new go-to method for golden, crunchy, juicy wings right from your oven. No fryer needed, just simple ingredients and a clever technique for baked chicken wings crispy perfection every time.
Keep the screen of your device on
Ingredients
2 lbs chicken wings, split into flats and drumettes, tips removed
1 tablespoon aluminum-free baking powder
1 teaspoon kosher salt
0.5 teaspoon black pepper
0.5 teaspoon garlic powder
Optional for serving: hot sauce, melted butter, celery, carrot sticks, ranch or blue cheese dressing
Directions
- Start by preheating your oven to 425°F and lining a large baking sheet with foil for easy cleanup, then placing a wire rack on top.
- Pat the chicken wings completely dry with paper towels, this is the most important step for crispiness.
- In a large bowl, whisk together the baking powder, salt, pepper, and garlic powder.
- Add the dried wings and toss until they are evenly and lightly coated with the seasoning mixture.
- Arrange the wings in a single layer on the prepared wire rack, making sure they are not touching each other so air can circulate.
- Bake on the middle rack for 25 minutes, then carefully flip each wing using tongs.
- Return to the oven and bake for another 20 to 25 minutes until the skin is deeply golden brown and very crispy.
- If you plan to sauce the wings, toss them in your favorite sauce immediately after removing them from the oven.
- Serve hot with your chosen dips and sides.
Notes
- Aluminum-free baking powder is essential; baking soda will leave a metallic taste.
- For extra crispy results, let the seasoned wings sit uncovered on the rack in the fridge for 30-60 minutes before baking.
- Always use a wire rack; baking directly on a sheet will cause the bottoms to steam and soften.
- Sauce wings only after baking to maintain maximum crispiness.
- Wings are done when internal temperature reaches 165°F and skin is deep golden brown.
- For spicier wings, add 0.25 teaspoon cayenne pepper to the dry rub.
Nutrition Facts
- Total number of serves: 4
- Calories: 285kcal
- Fat: 19g
- Saturated Fat: 5g
- Cholesterol: 0.95mg
- Sodium: 0.680mg
- Carbohydrates: 1g
- Fiber: 0g
- Sugar: -224g
Like this recipe?
Follow @wikitasty on Pinterest
FAQS
The secret trio: thoroughly dry the wings, use a little baking powder in your seasoning, and bake on a wire rack at high heat. This combination draws out moisture and promotes even crisping all over.
While baking powder is the most reliable method for oven-crisped wings, you can achieve decent results by ensuring wings are extremely dry, using a very hot oven (450°F), and flipping halfway. The texture just might not be quite as shatteringly crisp.
At 400°F, bake wings for about 45-55 minutes total, flipping halfway, until the skin is golden and crispy and the internal temperature reaches 165°F. For extra crispiness, I recommend starting at 425°F as in this recipe.
Yes, flipping wings halfway through baking ensures even browning and crispiness on both sides. Use tongs to gently turn them without piercing the skin.
Absolutely, but thaw wings completely in the refrigerator first and pat them very dry before seasoning. Baking from frozen will steam the wings and prevent crispiness.
Classic Buffalo (hot sauce and butter) is always a winner. For something different, try honey garlic, lemon pepper, or a dry rub. The key is to sauce after baking to keep that crunch intact.
A Little Story from My New York Kitchen
Growing up in New York, wing nights were sacred. Whether it was cheering for the Giants or just unwinding after a long day, crispy wings were the ultimate comfort food. But I always hated the lingering fryer smell in my tiny apartment. This baked method changed everything.
Now I get that same satisfying crunch, the same juicy bite, and my kitchen still smells like garlic and possibility, not grease. It is my little love letter to wing lovers everywhere who want the flavor without the fuss.
Closing Thoughts
There you have it, friend: your new secret weapon for baked chicken wings crispy that will have everyone asking for your recipe. It is easy, adaptable, and delivers that crave-worthy crunch without the fryer mess.
Whether you are feeding a crowd or treating yourself, these wings are pure joy on a plate. If you loved this recipe, you might also enjoy exploring other game day favorites like air-fryer corned beef for a hearty twist, or warming up with a bowl of cabbage sausage soup for a cozy complement. Now, preheat that oven and let’s get baking. Your crispiest wings yet are waiting!