Last Updated on March 11, 2025 by Souhail
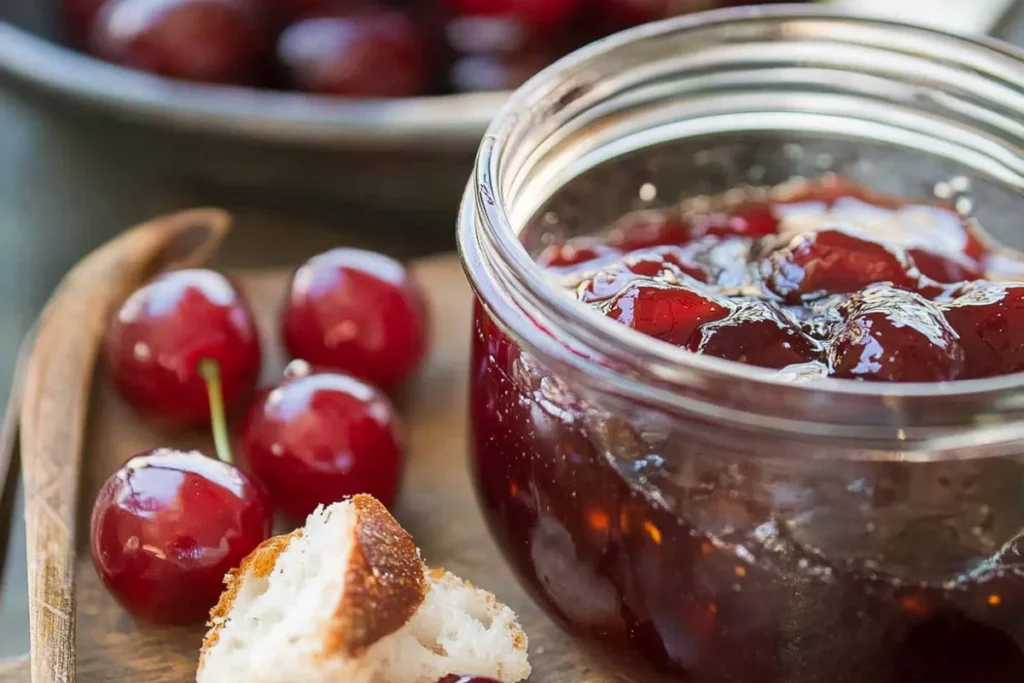
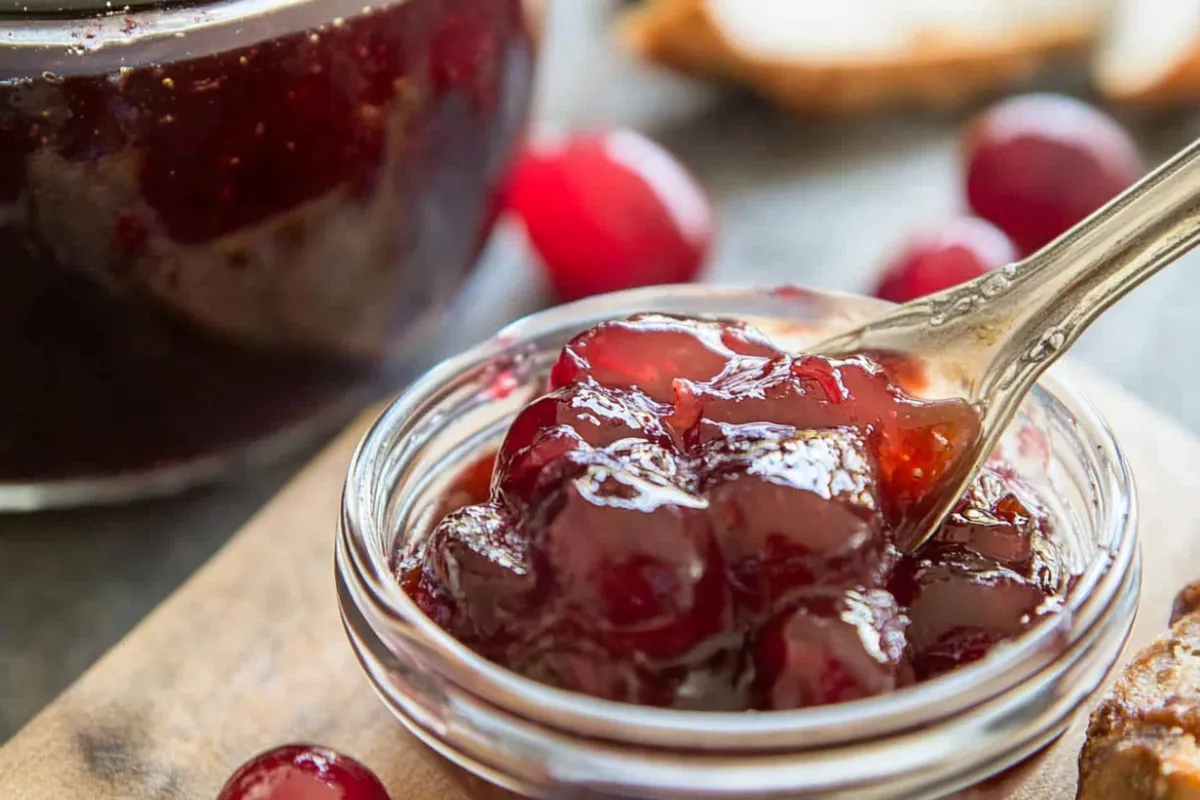
There’s something magical about the process of turning fresh cherries into a beautiful jar of ruby-red cherry jelly. The sweetness, tanginess, and deep flavor of cherries make them an irresistible fruit, and this recipe captures their essence in a form that can be enjoyed year-round. Cherry jelly recipe is a versatile treat that can elevate your morning toast, add a touch of sophistication to desserts, or serve as the perfect partner to a cheese platter. Whether you’re preserving the bounty of cherry season or using frozen cherries, this recipe is a surefire way to brighten up your pantry.
This recipe is perfect for beginners and seasoned home cooks alike. With just a few ingredients and some basic kitchen tools, you’ll create a luscious, jewel-toned jelly that’s packed with natural cherry flavor. The key to its appeal lies in the balance of sweetness and tang, making it equally delightful for kids and adults.
What makes this cherry jelly recipe a standout? It’s not overly complicated, and the flavor is pure and unadulterated. By using fresh or frozen cherries and minimal processing, this jelly lets the fruit shine. And for those looking to customize, there are endless ways to tweak the recipe, from adding a hint of spice to experimenting with sugar substitutes.
Whether you’re making it as a gift, stocking up for the colder months, or simply indulging your love for cherries, this recipe is a must-try. Let’s dive into why this cherry jelly is destined to become your go-to preserve.
Table of contents
Why This Recipe Works
Fresh and Fruity Flavor
The key to a great cherry jelly is using high-quality cherries, whether fresh or frozen. The natural sugars and tartness of cherries create a jelly that’s perfectly balanced. By gently simmering the cherries, we extract their juices without losing their bright flavor.
Simple Ingredients, Big Impact
With just a handful of ingredients: cherries, sugar, lemon juice, and pectin, this recipe keeps it simple while delivering maximum flavor. The lemon juice not only balances the sweetness but also helps the jelly set properly.
Customizable Sweetness
If you’re someone who prefers a less sweet jelly, you can reduce the sugar slightly or use a low-sugar pectin. For those who love experimenting, try adding a touch of honey or maple syrup for a unique twist.
No Fancy Equipment Needed
This recipe doesn’t require any specialized equipment beyond a large pot, a fine mesh strainer or cheesecloth, and sterilized jars. Even if it’s your first time making jelly, you’ll find the process straightforward and rewarding.
Preserving the Harvest
Cherry jelly is an excellent way to preserve the taste of summer. Whether you’ve gone cherry-picking or found a great deal at the farmer’s market, this recipe ensures you can enjoy the fruit long after the season ends.
Great for Gifting
Homemade cherry jelly makes for a thoughtful and beautiful gift. The vibrant red color and rich flavor are sure to impress, whether you’re gifting it during the holidays or as a hostess present.
Customization Options
- Adding a Flavor Twist: A splash of vanilla extract or almond extract can complement the cherries beautifully. For a more adventurous take, try adding a pinch of cinnamon or nutmeg.
- Sugar Substitutes: For those watching their sugar intake, opt for low-sugar pectin and substitute the sugar with stevia or monk fruit sweetener.
- Mixing Fruits: Combine cherries with other fruits like raspberries or blackberries for a mixed berry jelly.
- Spicy Kick: A dash of chili powder or a slice of fresh jalapeño simmered with the cherries can add a subtle heat for savory applications.
This cherry jelly recipe is not just about preserving fruit, it’s about creating a versatile, flavorful staple that can enhance countless dishes. From a morning bagel to a glazed roast, this jelly is as functional as it is delicious.
Ingredients Breakdown
Main Ingredients of Cherry Jelly Recipe
- Cherries (4 cups, pitted)
- Fresh or frozen cherries work perfectly. Sweet cherries yield a milder flavor, while tart cherries provide a sharper taste.
- Granulated Sugar (2 cups)
- Acts as the primary sweetener and helps in achieving the jelly’s classic texture. Adjust for a less sweet version or try sugar substitutes with low-sugar pectin.
- Lemon Juice (2 tbsp)
- Enhances the natural tartness of the cherries and aids in the gelling process. Freshly squeezed is recommended for the best flavor.
- Powdered Pectin (1 packet)
- Essential for thickening the jelly. Make sure to use the type of pectin appropriate for your desired sugar level.
Optional Ingredients
- Vanilla Extract (1 tsp): Adds a warm, aromatic note.
- Almond Extract (½ tsp): Complements the cherry flavor beautifully.
- Cinnamon Stick: Infuse the mixture during simmering for a hint of spice.
Step by Step Instructions
Prepare the Ingredients: Measure out all ingredients before starting. If using fresh cherries, extract the juice by either juicing them or simmering them in a pot and straining the liquid through a cheesecloth to remove solids.
Sterilize the Jars: Bring a large pot of water to a boil and submerge the jars and lids for 10 minutes to sterilize them. Carefully remove and place them on a clean towel to dry.
Cook the Jelly Base: In a large saucepan, combine the cherry juice and pectin. Stir continuously while bringing the mixture to a rolling boil over medium-high heat.
Add Sugar and Lemon Juice: Stir in the sugar and lemon juice, then return the mixture to a boil. Let it cook for 1-2 minutes, stirring frequently to prevent sticking. Skim off any foam that forms on the surface.
Test for Gel Stage: To check if the jelly is ready, place a small spoonful on a cold plate and gently push it with your finger. If it wrinkles, the jelly has reached the right consistency.
Fill the Jars: Carefully ladle the hot jelly into the sterilized jars, leaving ¼ inch of headspace at the top. Wipe the rims clean to ensure a proper seal, then secure the lids tightly.
Process the Jars: Submerge the sealed jars in a boiling water bath for 10 minutes to create an airtight seal and prevent spoilage.
Cool and Store: Remove the jars carefully and let them cool undisturbed for 24 hours. Once cooled, check that the seals are tight by pressing on the lids, if they don’t pop, they’re properly sealed. Store the jelly in a cool, dark place for long-term freshness. Enjoy!
Pro Tips for Success
- Choose the Right Cherries
- For a sweeter jelly, opt for Bing or Rainier cherries. If you prefer a tangy flavor, Montmorency cherries are ideal. Mixing sweet and tart varieties can create a balanced flavor.
- Pit Efficiently
- Use a cherry pitter for quick and easy preparation. If you don’t have one, a metal straw or chopstick can help push out the pits.
- Perfect the Juice Extraction
- Avoid over-mashing the cherries to prevent cloudy jelly. Straining the juice twice can ensure a clear, vibrant jelly.
- Use the Right Pectin
- Match your pectin type to the sugar level in your recipe. Regular pectin requires full sugar, while low-sugar pectin is ideal for alternatives like stevia.
- Monitor Cooking Time
- Overcooking can lead to a rubbery texture, while undercooking results in a runny jelly. Pay attention to the set test and remove the jelly from heat promptly.
- Avoid Foaming
- Adding a small amount of butter (½ tsp) to the mixture can reduce foam, making the jelly smoother.
- Sterilize Properly
- Always use sterilized jars to prevent contamination. Boil the jars and lids for 10 minutes and keep them hot until use.
- Adjust Sweetness Carefully
- Reducing sugar too much can affect the jelly’s ability to set. Use low-sugar pectin for modifications.
- Test Consistently
- The plate test is a foolproof way to ensure the jelly has reached the right consistency. Repeat as needed during cooking.
- Label and Date
- Once your jars are sealed and cooled, label them with the date and contents for easy identification.

By following these tips, your cherry jelly will turn out beautifully every time, with a perfect set and an irresistible flavor.
Variants of the Cherry Jelly Recipe
- Low-Sugar Cherry Jelly
- Replace the granulated sugar with a sugar substitute like stevia or erythritol. Use low-sugar pectin to ensure the jelly sets properly. This variant is ideal for those watching their sugar intake.
- Spiced Cherry Jelly
- Infuse the cherry juice with warm spices like cinnamon sticks, cloves, or star anise during the cooking process. Strain out the spices before adding pectin for a festive, aromatic twist.
- Cherry-Vanilla Jelly
- Add 1-2 teaspoons of pure vanilla extract after cooking the jelly but before jarring it. The vanilla enhances the cherry flavor with a creamy, dessert-like note.
- Mixed Berry-Cherry Jelly
- Combine cherries with other berries like blueberries, raspberries, or strawberries for a medley of flavors. Adjust the sugar to match the natural sweetness of the berries.
- Alcohol-Infused Cherry Jelly
- Stir in 2-3 tablespoons of your favorite liquor, like kirsch, amaretto, or brandy, after the jelly is cooked. This variant is great for gourmet gifts or pairing with desserts.

Serving Suggestions
Cherry jelly is versatile and elevates numerous dishes. Here are some creative ways to enjoy it:
1. Classic Breakfast Pairings
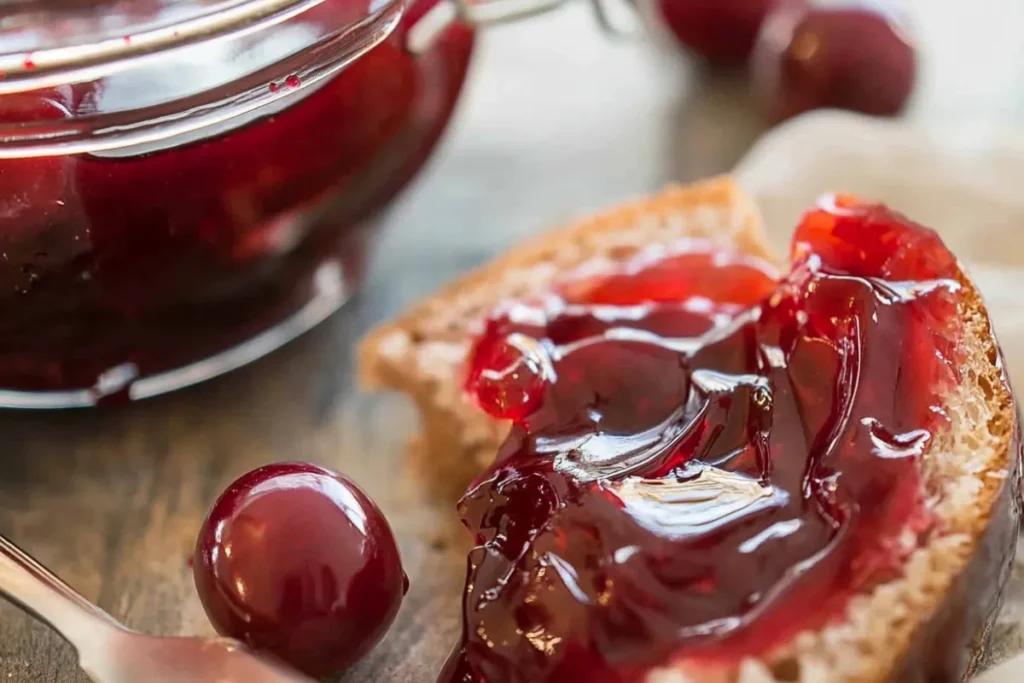
- Spread the jelly over toasted sourdough or a warm croissant. Pair it with salted butter for a perfect balance of sweet and savory.
2. Cheese Boards
- Serve cherry jelly alongside cheeses like brie, camembert, or sharp cheddar. Its tartness complements creamy and aged cheeses beautifully.
3. As a Dessert Sauce
- Warm the jelly slightly and drizzle it over vanilla ice cream, cheesecake, or panna cotta for an elegant dessert topping.
4. Glaze for Meats
- Use cherry jelly as a glaze for roasted chicken, pork tenderloin, or duck. Mix it with a splash of balsamic vinegar and brush it over the meat during the last 10 minutes of cooking.
5. In Yogurt or Smoothies
- Swirl a spoonful into Greek yogurt or blend it into your favorite smoothie for a fruity kick.
Recipe Card
FAQs About Cherry Jelly Recipe
Yes! Natural pectin can be found in apple juice or lemon peel. Boil your cherry juice with one of these alternatives, but the process may take longer.
If your jelly is too runny, pour it back into the pot, add an extra ½ teaspoon of pectin, and reboil for 1-2 minutes.
Press the center of the lid. If it doesn’t pop back, the jar is sealed. Otherwise, refrigerate and consume within 3 weeks.
Absolutely! Thaw and juice them before starting the recipe. The flavor remains as vibrant as fresh cherries.
You can use honey or maple syrup for a natural alternative. Adjust the pectin to match the liquid consistency.
Health Benefits of Cherry Jelly
While cherry jelly is typically enjoyed as a sweet treat, it offers some surprising health benefits:
- Improved Sleep: Cherries are a natural source of melatonin, which can help regulate sleep patterns.
- Rich in Antioxidants: Cherries are packed with anthocyanins and vitamin C, which help combat free radicals.
- Natural Anti-inflammatory Properties: Cherries may reduce inflammation and support joint health.
- Energy Boost: The natural sugars in cherry jelly provide a quick energy boost, making it ideal for breakfasts or snacks.
Cherry jelly is a timeless classic that captures the vibrant flavors of fresh cherries in a jar. Whether you’re spreading it on toast, swirling it into yogurt, or using it to glaze a roasted ham, its versatility knows no bounds. This recipe is a must-try for anyone who loves the balance of sweet and tart, coupled with the satisfaction of creating something homemade.
If you’ve enjoyed this recipe, be sure to explore other jam and jelly recipes on our blog! such as the recipe of Ocean Spray Cranberry Sauce. Let the joy of preserving seasonal fruits fill your kitchen with happiness.
Ready to give it a go? Grab your cherries, prep your jars, and embark on this delightful culinary adventure. Don’t forget to share your results and tag us on social media, we can’t wait to see your creations!


