Last Updated on February 19, 2026 by Souhail
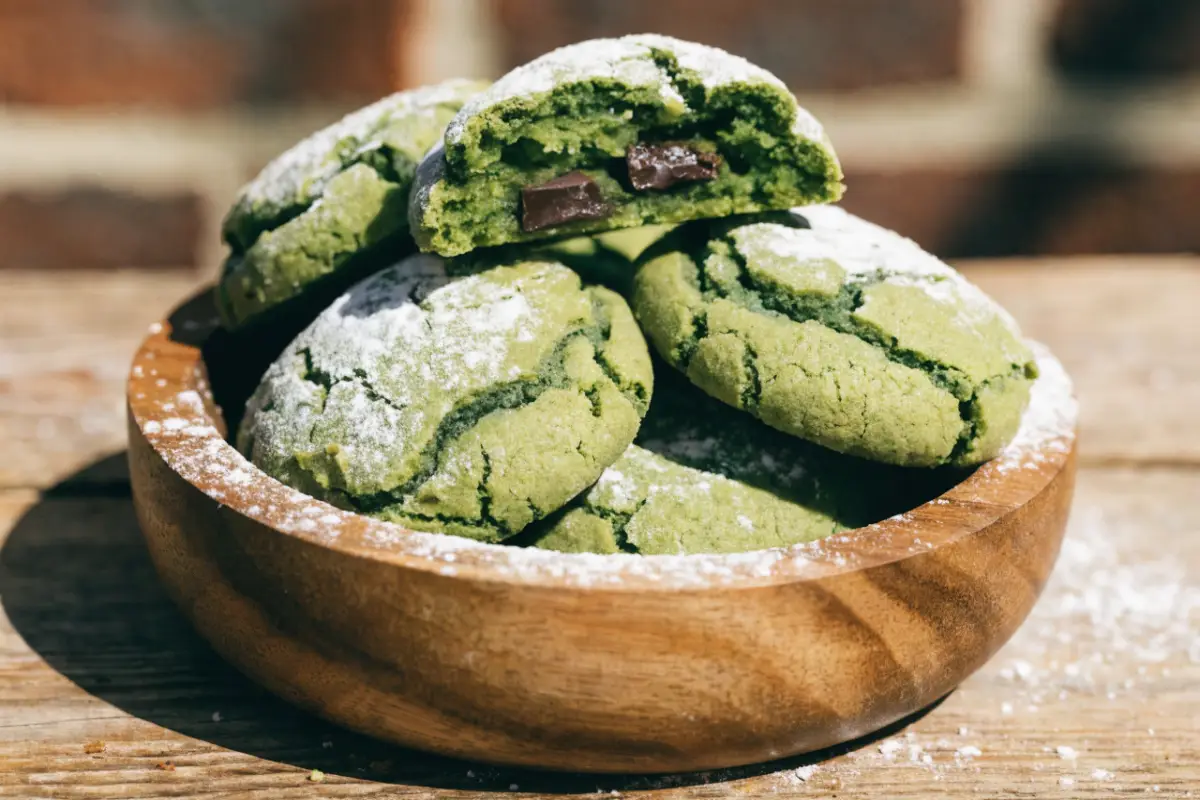
Living in New York City, I am constantly surrounded by food trends that shift faster than the subway schedule. Sometimes the classics need a little twist to feel exciting again. That is exactly what happened when I decided to make green velvet cookies. It was late February, and every bakery in Brooklyn was pushing red velvet everything for Valentine’s Day. I wanted something fresh for the upcoming spring season without losing that beloved cocoa tang.
So I swapped the red for a vibrant emerald hue. The result was stunning. These cookies fit perfectly into your everyday life as a festive treat or a special weekend baking project. They offer a rich cocoa flavor balanced with a tangy cream cheese swirl. It is special because it takes a familiar favorite and makes it uniquely yours. Whether you are hosting a brunch or just need a sweet pick-me-up after a long day in the kitchen, this recipe delivers comfort in every bite.
Table of contents
Why This Recipe Works
You might be wondering why you should bother making these instead of buying a box mix. I get it. Life is busy. But here is why this homemade version wins every time.
- Texture Perfection: The combination of butter and oil creates a cookie that is crisp on the edges but stays chewy in the center.
- Balanced Flavor: The cocoa powder provides depth, while the cream cheese frosting adds a necessary tang to cut the sweetness.
- Visual Impact: The vibrant green color makes these cookies a centerpiece for any party table without needing extra decoration.
- Customizable: You can easily adjust the food coloring or add mix-ins to suit your mood.
Pro Tips for Baking Success
Baking is chemistry, but it should also feel like magic. Here is how to ensure your cookies turn out picture perfect.
First, make sure your butter and cream cheese are truly at room temperature. If they are too cold, your frosting will be lumpy. Second, do not overmix the dough once you add the flour. Overmixing develops gluten, which leads to tough cookies instead of tender ones. Finally, chill the dough for at least thirty minutes.
This prevents the cookies from spreading too thin in the oven. If you want to explore more holiday baking ideas, these St. Patrick’s Day Cupcakes are another fantastic option for your celebration spread.
Variants of the Recipe
One of the best things about this base recipe is its versatility. You can tweak it to match different tastes or dietary needs without losing the core identity of the dish.
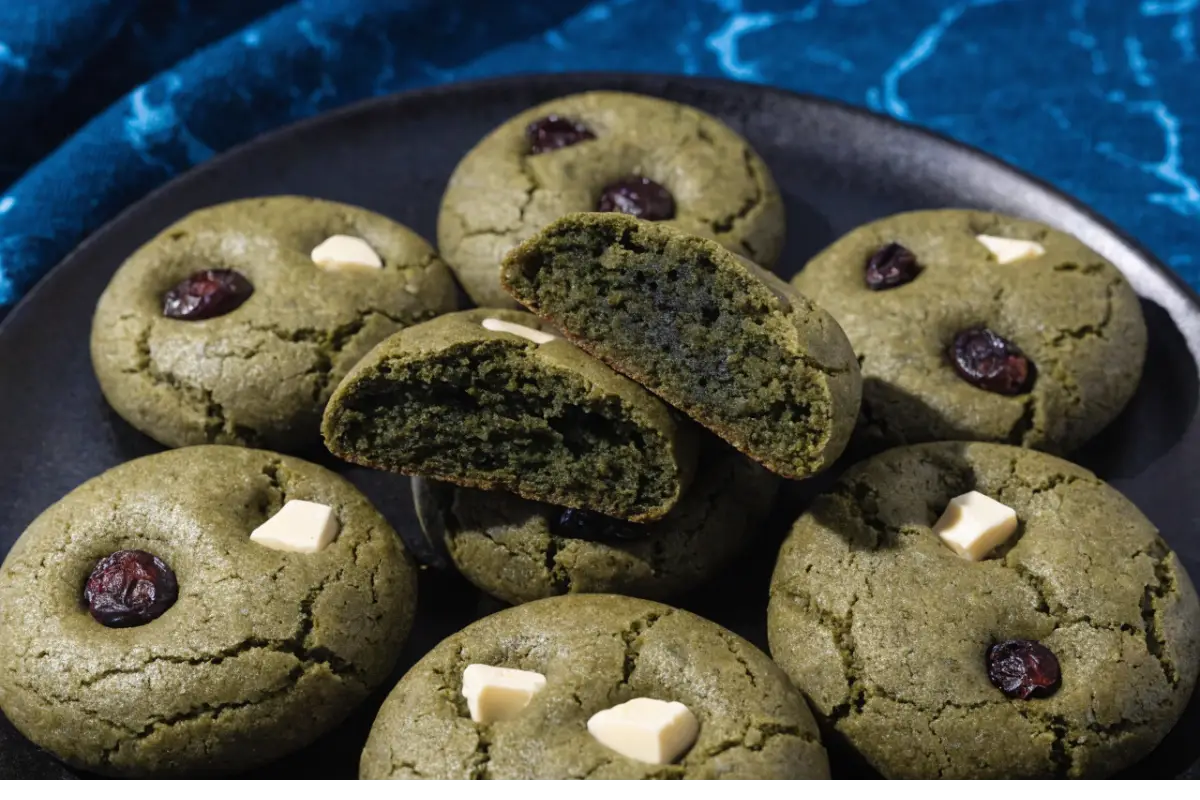
Mint Chocolate Chip Twist Add half a teaspoon of peppermint extract to the dough and fold in dark chocolate chips. This creates a refreshing flavor profile that pairs beautifully with the cocoa. It reminds me of those classic Green Mint Chocolate Chip Cookies but with a velvet texture.
White Chocolate Swirl Instead of cream cheese frosting, melt white chocolate and drizzle it over the cooled cookies. This adds a sweeter, creamier note that complements the bitterness of the cocoa powder.
Gluten-Free Option Swap the all-purpose flour for a one-to-one gluten-free baking blend. The texture remains surprisingly similar, making this accessible for guests with sensitivities.
Serving Suggestions
These cookies are delicious on their own, but pairing them correctly elevates the experience. Serve them warm with a glass of cold milk for a nostalgic treat. For a party platter, arrange them alongside fresh berries to add a pop of natural color. If you are building a full menu for a gathering, consider balancing the sweetness with something savory.
You could serve these alongside a unique appetizer like Cottage Cheese Flatbread to create a surprising sweet and savory contrast that your guests will talk about.
Storage and Reheating Instructions
Store your leftover cookies in an airtight container at room temperature for up to three days. If you live in a humid climate like I do in New York, keep them in the fridge to maintain the frosting texture. To reheat, microwave a single cookie for ten seconds to restore that fresh-baked softness. Do not freeze the cookies once frosted, as the cream cheese can become watery upon thawing.
Creative Uses for the Recipe
Do not limit these cookies to just a snack. Crumble them over vanilla ice cream for a decadent sundae topping. You can also use them as the base for a cookie cake by pressing the dough into a pan and frosting the top. For a larger celebration, you might want to bake a St. Patrick’s Day Cake to serve alongside these bite-sized treats for a grand finale.
How Do You Make It
Green Velvet Cookies
Enjoy these soft and chewy green velvet cookies featuring a tangy cream cheese frosting swirl. Perfect for holidays or any day you need a sweet treat.
24
servings20
minutes12
minutes185
kcalKeep the screen of your device on
Ingredients
2.5 cups all-purpose flour
0.5 cup unsweetened cocoa powder
1.0 teaspoon baking soda
0.5 teaspoon salt
1.0 cup unsalted butter, softened
1.5 cups granulated sugar
2.0 large eggs
2.0 teaspoons vanilla extract
1.0 tablespoon green food coloring
8.0 ounces cream cheese, softened
0.5 cup powdered sugar
Directions
- Preheat your oven to 350 degrees Fahrenheit and line two baking sheets with parchment paper.
- In a medium bowl, whisk together the flour, cocoa powder, baking soda, and salt until well combined.
- In a large bowl, beat the softened butter and granulated sugar until light and fluffy.
- Add the eggs one at a time, mixing well after each addition, then stir in the vanilla extract and green food coloring until the dough is evenly colored.
- Gradually add the dry ingredients to the wet mixture, mixing just until no flour streaks remain.
- In a small separate bowl, beat the cream cheese and powdered sugar until smooth
- Drop rounded tablespoons of cookie dough onto the prepared baking sheets.
- Dollop a small amount of cream cheese mixture on top of each cookie and use a toothpick to swirl it gently into the dough.
- Bake for 10 to 12 minutes until the edges are set.
- Allow the cookies to cool on the baking sheet for 5 minutes before transferring to a wire rack.
Notes
- Ensure butter is softened but not melted for the best texture.
- Gel food coloring provides a more vibrant green than liquid drops.
- Do not overbake or the cookies will lose their chewiness.
- Chill dough if it feels too sticky to handle.
- Store frosted cookies in the refrigerator if keeping longer than one day
Nutrition Facts
- Total number of serves: 24
- Calories: 185kcal
- Fat: 9g
- Saturated Fat: 5g
- Cholesterol: 0.35mg
- Sodium: 0.120mg
- Carbohydrates: 24g
- Fiber: 1g
- Sugar: 15g
- Protein: 2g
Like this recipe?
Follow @wikitasty on Pinterest
FAQS
Yes, you can bake them a day in advance. Just store them in an airtight container to keep them fresh.
This usually happens if the butter was too warm or the dough was not chilled. Try chilling the dough for 30 minutes before baking.
Absolutely. Spinach powder or matcha can work, though the color might be more muted than gel coloring.
Use a certified gluten-free all-purpose flour blend in equal measure to the regular flour.
Yes, you can bake them plain or top them with chocolate chips instead if you prefer.
Spoon the flour into your measuring cup and level it off with a knife. Scooping directly packs the flour and leads to dry cookies.
Printable Shopping List
- All-purpose flour
- Unsweetened cocoa powder
- Baking soda
- Salt
- Unsalted butter
- Granulated sugar
- Eggs
- Vanilla extract
- Green food coloring
- Cream cheese
- Powdered sugar
Health Benefits of the Recipe
While this is a treat, cocoa powder contains antioxidants. Enjoying in moderation can be part of a balanced diet. The eggs provide protein to help keep you satisfied.
Conclusion
Baking these green velvet cookies is a wonderful way to bring color and joy into your kitchen. They are soft, flavorful, and sure to impress anyone who tries them. I hope you enjoy making them as much as I do. If you liked this recipe, check out my other dessert ideas on the blog. Happy baking!