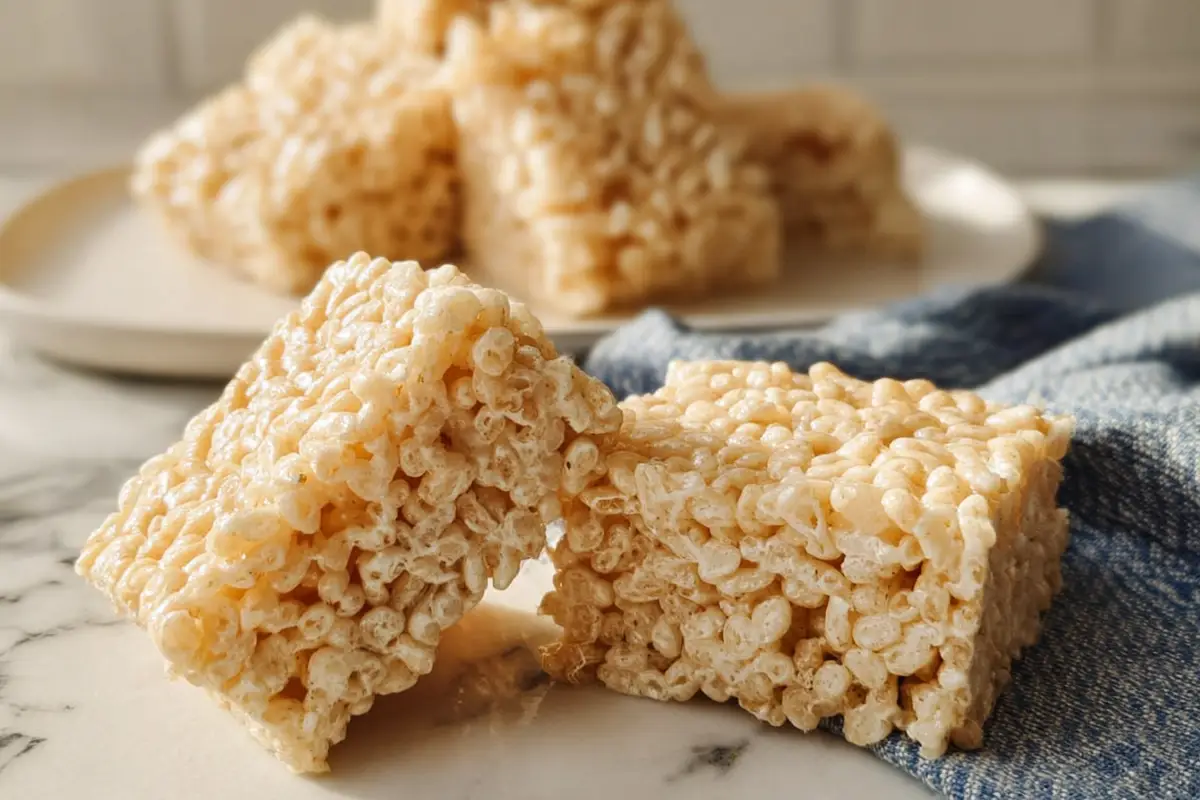
- Comforting, nostalgic Rice Krispie Treats: buttery, gooey, crunchy, and ready in under 15 minutes.
- Only three base ingredients—butter, marshmallows, cereal—no oven required and easily doubled for parties.
- Key tips: use fresh marshmallows, melt low and slow, grease tools, add vanilla, and gently press.
- Endless variations: chocolate-dipped, peanut butter, peppermint, cookies and cream, nutty caramel, and cereal swaps.
- Store at room temperature in an airtight container 3–4 days; microwave briefly to refresh or freeze individually for six weeks.
Last Updated on December 27, 2025 by Souhail
Is it even possible to grow up in the U.S. without some memory of Rice Krispie Treats? Whether it was unwrapping one in your lunchbox, watching marshmallows melt on the stove with your mom, or sneaking a warm square before they set—these nostalgic squares are more than just dessert. They’re edible joy.
The first time I made Rice Krispie Treats by myself, I was around 12. I burned the butter slightly and didn’t even notice until later. But guess what? Everyone loved them! That little bit of browning added a toasty, almost caramel-like flavor. It was the beginning of my lifelong obsession with tweaking simple recipes to make them unforgettably good.
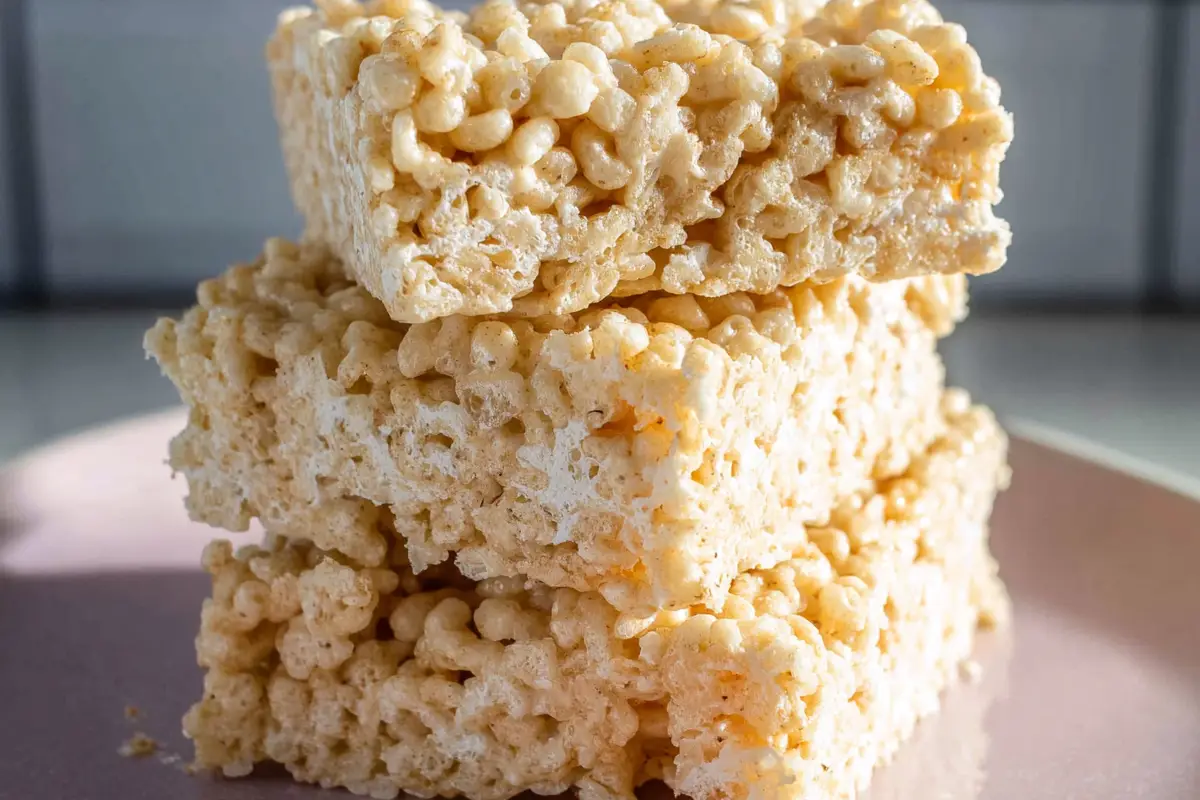
This recipe is one I now make all the time. It’s perfect for bake sales, birthdays, late-night cravings, or sweet holiday platters. The flavor? A buttery, gooey, marshmallow dream with that perfect cereal crunch. And best of all, it takes less than 15 minutes to make.
Table of contents
- Why You’ll Love Making These Rice Krispie Treats
- How To make This Recipe
- Pro Tips to Make Your Rice Krispie Treats Even Better
- Fun Variations for Every Mood and Craving
- How to Serve Rice Krispie Treats So They Disappear Fast
- Storage and Reheating Tips for the Best Texture
- Creative Ways to Use Leftover Rice Krispie Treats
- FAQs About Rice Krispie Treats
- Conclusion: Go Forth and Get Gooey
Why You’ll Love Making These Rice Krispie Treats
There’s something undeniably comforting about Rice Krispie Treats. They’re fast, they’re foolproof, and they somehow taste even better the next day (if they last that long). But here’s what really sets this version apart:
- They stay soft for days, thanks to a perfect marshmallow-to-cereal ratio and a sneaky splash of vanilla.
- Only 3 base ingredients: butter, marshmallows, and crispy rice cereal. No oven required.
- Customizable in a million ways (more on that soon).
- Great for making with kids or bringing to potlucks.
- Easy to double for parties, holidays, or gifting.
Want to dress them up? Drizzle chocolate on top. Add crushed candy canes in December. Or try folding in chopped pecans for a twist inspired by these Texas Chocolate Pecan Pie Bars. Trust me, it’s a game changer.
How To make This Recipe
Rice Krispie Treats Recipe
16
servings5
minutes10
minutes160
kcalThe ultimate nostalgic treat! These Rice Krispie Treats are soft, gooey, buttery, and ready in just 15 minutes. A must-have for bake sales, birthdays, or anytime you’re craving a quick sweet bite.
Keep the screen of your device on
Ingredients
6 tablespoons unsalted butter
1 bag mini marshmallows (about 5 ½ cups)
1 teaspoon vanilla extract (optional but highly recommended)
6 cups Rice Krispies cereal
Cooking spray or extra butter for greasing
Directions
- First, grab a large pot and set it over low heat. Add the butter and let it melt slowly. You’ll start to smell that rich, buttery aroma right away—yum!
- Once the butter is melted, toss in the marshmallows. Stir continuously as they begin to melt down into a smooth, glossy cloud. Keep the heat low so they don’t scorch or get gritty. At this point, I love adding a splash of vanilla extract—it gives them a bakery-style flavor.
- When the marshmallows are fully melted and the mixture is silky, take the pot off the heat.
- Quickly pour in your Rice Krispies cereal. Stir gently but quickly to fully coat the cereal in the marshmallow mixture. It’ll get sticky fast, but you’ve got this!
- Transfer the gooey cereal mix to a greased 9×13-inch baking dish. Lightly grease a spatula (or your hands!) and gently press the mixture evenly into the pan. Don’t press down too hard—we want these to stay fluffy and soft.
- Let them cool at room temperature for about 30 minutes to set. Then slice into squares and dig in!
Notes
- Use fresh marshmallows for the softest texture and best melt.
- Brown the butter slightly if you want a richer, nutty flavor.
- Add sprinkles or chocolate chips for extra fun—kids love this.
- To keep your hands clean, use a piece of wax paper to press the mixture down.
- Want thicker treats? Use an 8×8-inch pan instead of 9×13.
- Store in layers with wax paper to prevent sticking.
Nutrition Facts
- Calories: 160kcal
- Fat: 5g
- Saturated Fat: 3g
- Sodium: 100mg
- Carbohydrates: 29g
- Fiber: 0g
- Sugar: 14g
- Protein: 1g
Like this recipe?
Follow @wikitasty on Pinterest
Pro Tips to Make Your Rice Krispie Treats Even Better
Alright, let’s make sure you get the gooey-chewy magic every single time. Here’s what I’ve learned from making hundreds of pans:
- Use fresh marshmallows. Seriously, stale ones won’t melt right and you’ll end up with dry, lumpy treats.
- Don’t crank the heat. Melt the butter and marshmallows low and slow to avoid a gritty texture.
- Grease everything: the spatula, the pan, even your hands if you’re pressing the mixture in. It’s sticky business.
- Add a splash of vanilla extract for warmth and depth. It makes a big difference.
- Gently press, don’t pack. Pressing the mixture too firmly into the pan can make them tough instead of tender.
And one bonus tip: if you love a salty-sweet combo, sprinkle a pinch of flaky sea salt on top. It’s next-level.
Fun Variations for Every Mood and Craving
Once you’ve nailed the base recipe (which you’re about to), the real fun begins. Here are some of my favorite ways to change it up:
1. Chocolate-Dipped Rice Krispie Treats
Melt dark chocolate or milk chocolate and dip each square halfway. Let them set on parchment. Perfect for parties or gift boxes.
2. Peanut Butter Twist
Melt ½ cup of peanut butter with the marshmallows for a nutty boost. Bonus points if you drizzle melted chocolate on top.
3. Holiday Peppermint Bark Version
Stir in crushed candy canes and white chocolate chips. It’s basically Christmas in every bite.
4. Cookies & Cream Rice Krispies
Fold in crushed Oreos before pressing into the pan. The cookie chunks add crunch and a little chocolate creaminess.
5. Nutty Caramel Squares
Inspired by the rich flavors of this Pecan Pie Bars recipe, you can mix in caramel bits and toasted chopped pecans for a more indulgent twist.
6. Spicy Cereal Swap
Try subbing in part of the cereal with cinnamon toast cereal or even crushed cornflakes for a spicy, cozy variation.
How to Serve Rice Krispie Treats So They Disappear Fast
Rice Krispie Treats are totally classic on their own, but there are some fun ways to make them feel extra special:
- Cut into fun shapes using cookie cutters (great for kids’ parties or holidays).
- Drizzle with chocolate or caramel and add sprinkles.
- Layer with peanut butter or Nutella for a sandwich-style treat.
- Pair them with something savory on a dessert tray—like Turkey Sausage Balls—to create a sweet and salty spread.
Serve them on a platter with other crowd-pleasers, and you’ve got a hit for any occasion.
Storage and Reheating Tips for the Best Texture
Rice Krispie Treats are best enjoyed fresh, but they can easily last a few days if stored right.
- Store in an airtight container at room temperature for up to 3–4 days. Add a sheet of wax paper between layers to prevent sticking.
- Don’t refrigerate, or they’ll get too hard.
- To refresh them, microwave an individual piece for 5–10 seconds for that “just-made” softness.
Pro tip: wrap them individually if you’re making them ahead for a bake sale or school lunchboxes!
Creative Ways to Use Leftover Rice Krispie Treats
If you ever find yourself with extras (rare, but it happens), here are some fun ways to repurpose them:
- Make Rice Krispie Pops: stick a lollipop stick in each square and dip in chocolate.
- Ice Cream Mix-In: crumble pieces into vanilla ice cream for a cereal milk sundae vibe.
- Dessert sandwich: layer between two cookies or brownies.
- Layered dessert bars: press the treats into a brownie pan, then top with cheesecake or pudding layers for a no-bake bar.
Also—if you’re in the mood for sweet-savory contrast, serve them after a bold dinner like this Mongolian Grill stir fry. It balances everything perfectly!
FAQs About Rice Krispie Treats
This usually happens if the marshmallows were overheated. Melt them slowly on low heat and don’t overpack the mixture into the pan.
Yes, you can! Just chop them into smaller pieces so they melt more evenly.
They’re best within 2–3 days but can last up to 4 days in an airtight container at room temperature.
Yes! Wrap each square individually in plastic wrap, then place in a zip-top freezer bag. Freeze for up to 6 weeks. Thaw at room temperature before eating.
Use vegan butter and vegan marshmallows (like Dandies). Be sure to double-check that the cereal is gelatin-free too.
Absolutely! Pecans, mini M&Ms, or even a handful of dried cranberries can add great texture and flavor.
Conclusion: Go Forth and Get Gooey
If you’ve made it this far, you’re probably already dreaming of marshmallows. And trust me, these homemade Rice Krispie Treats are even better than you remember—soft, chewy, nostalgic, and ridiculously easy to whip up.
I hope this recipe becomes a favorite in your home the way it has in mine. Try it with the kids, make it for a party, or just sneak a square while watching your favorite show. If you’re looking for more sweet inspirations, check out my cozy Pecan Pie Bars or that wildly delicious Texas Chocolate Pecan Pie that disappears in minutes at any holiday table.
I’d love to hear how your treats turned out! Leave a comment, share your own twists, or tag me on social if you post a pic. Let’s keep the marshmallow magic going.
Happy no-baking, and see you soon with more easy recipes you’ll want to make again and again!