Last Updated on February 23, 2026 by Souhail
There is something undeniably magical about the moment you pull a tray of golden, buttery cookies out of the oven here in my tiny Brooklyn kitchen. The smell alone is enough to make anyone forget about the chaotic subway commute or the endless stream of emails waiting on their laptop.
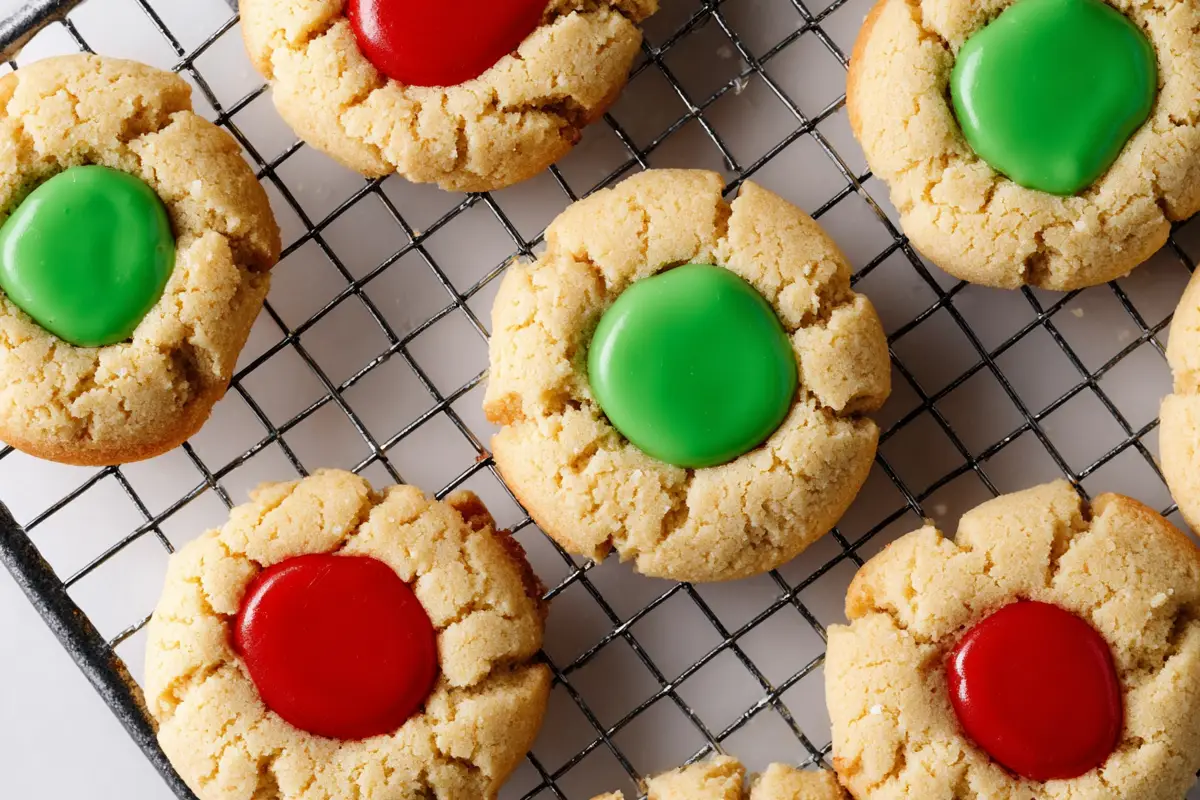
Today, I want to talk about a recipe that has become my absolute go-to whenever I need a little splash of color and a whole lot of comfort: thumbprint cookies with green icing. I first fell in love with these during a particularly gray November when my best friend hosted a “pre-holiday” gathering just to lift our spirits. She brought a batch of these little jewels, and the vibrant green swirl against the pale, crumbly cookie was like seeing the first sign of spring in the middle of winter.
Whether you are looking for a quick weeknight treat to satisfy a sweet tooth, a festive addition to your St. Patrick’s Day spread, or just a cheerful dessert to brighten up a Tuesday afternoon, this recipe fits perfectly into everyday life. The flavor profile is a dreamy balance of rich, vanilla-infused shortbread and a bright, citrus-kissed sweetness from the icing that cuts right through the butteriness. What makes this recipe so special isn’t just the taste, but the joy of making that little indentation with your thumb and watching it fill with color. It feels playful, nostalgic, and incredibly satisfying all at once.
Table of contents
- Why This Recipe Just Works So Well
- Let’s Get Those Cookies Perfect Every Time
- Fun Twists on a Classic Favorite
- Serving Suggestions That Wow
- Keeping Them Fresh and Delicious
- Creative Ways to Enjoy Leftovers
- How Do You Make It
- FAQS
- A Little Story About These Cookies
- Join the Conversation!
- Health Benefits of the Recipe
- Final Thoughts
Why This Recipe Just Works So Well
Let’s be real for a second. Baking can sometimes feel like a chemistry experiment where one wrong move ruins the whole batch. But these cookies? They are forgiving, friendly, and absolutely foolproof. Here is why this specific recipe has earned a permanent spot in my weekly rotation:
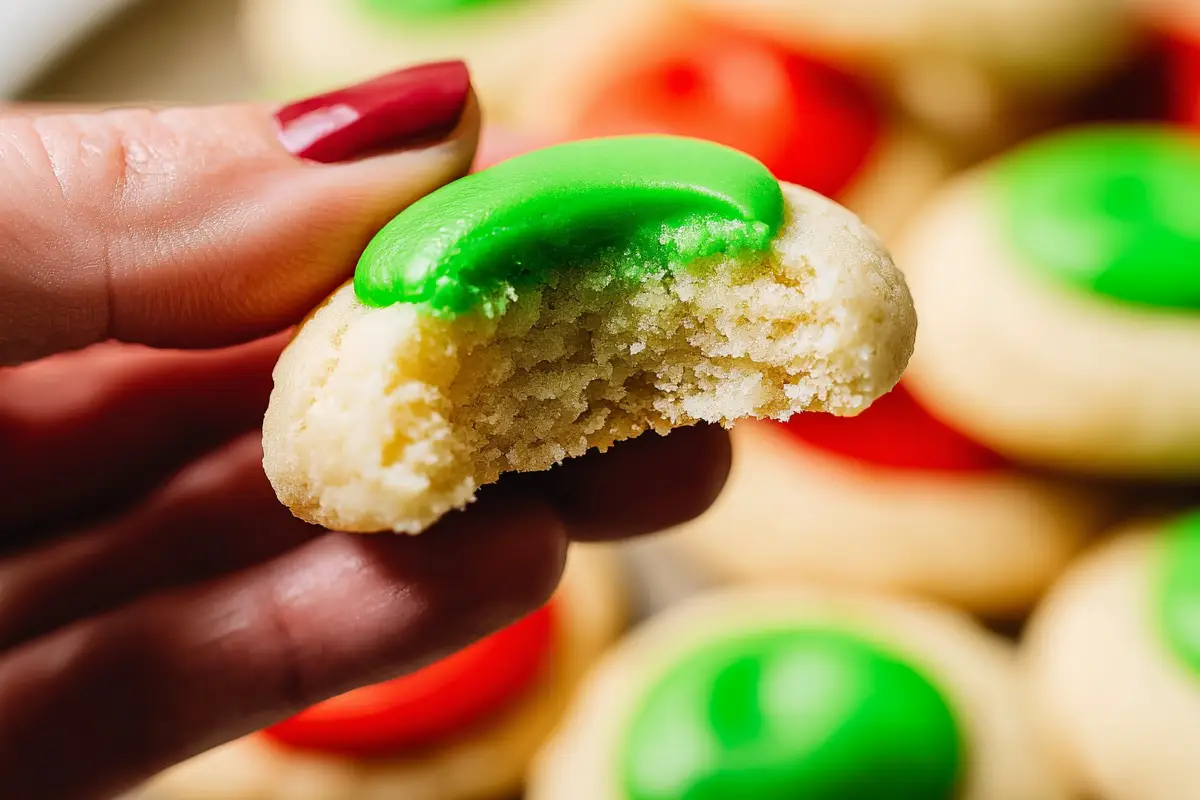
- The Texture is Unbeatable: We use a higher ratio of butter to flour, which creates that melt-in-your-mouth shortbread texture that you usually only find at high-end bakeries in Manhattan.
- Visual Impact with Minimal Effort: That pop of green icing looks like you spent hours decorating, but honestly, it takes about ten minutes to pipe or drizzle once the cookies cool.
- Customizable Sweetness: You control the sugar level in both the dough and the icing, so it never feels cloyingly sweet.
- Dietary Flexibility: This base recipe is incredibly adaptable. If you need a gluten-free version, simply swap in your favorite 1-to-1 GF flour blend (I love the ones with xanthan gum already included). For a vegan twist, use high-quality plant-based butter sticks and almond milk in the icing; the texture remains surprisingly close to the original.
If you love experimenting with different cookie bases, you might also enjoy checking out this classic sugar cookie recipe which shares similar DNA but offers a great canvas for cut-out shapes.
Let’s Get Those Cookies Perfect Every Time
Okay, before you preheat that oven, let’s chat about a few tricks I’ve learned after burning more batches than I’d like to admit in my early cooking days. These tips will take your cookies from “good” to “wait, did you buy these at a bakery?”
First, temperature matters immensely. Your butter needs to be soft enough that when you press it with your finger, it leaves an indent without sinking all the way through. If it’s too cold, your dough will be lumpy; too warm, and your cookies will spread into sad, flat pancakes. Take it out of the fridge about an hour before you start.
Second, don’t skip the chilling step for the dough balls. Even though this isn’t a rolled cookie, popping the formed balls into the fridge for 20 minutes before baking helps them hold their shape when you make that thumbprint. It ensures the walls of the cookie stay high enough to hold all that delicious icing.
Finally, when making the icing, start with less liquid than you think you need. You can always add more milk to thin it out, but you can’t easily thicken it back up without adding more sugar and throwing off your flavor balance. You want it thick enough to sit in the divot but fluid enough to settle smoothly. Speaking of festive treats, if you are looking for something with a bit more chocolatey kick, my green mint chocolate chip cookies are another fantastic option for your holiday lineup.
Fun Twists on a Classic Favorite
While I am deeply loyal to the original vanilla and green icing combo, part of the fun of being in the kitchen is playing around with flavors. This recipe is a wonderful chameleon that adapts beautifully to different additions.
Almond Extract Swap: Instead of vanilla extract in the dough, try using almond extract. It pairs phenomenally well with the citrusy notes of the green icing (which often gets its color from lime zest or just food coloring, but tastes bright). The nutty undertone makes the cookie feel slightly more sophisticated, perfect for an afternoon tea party.
Jam-Filled Variation: Not feeling the icing? No problem! You can fill the thumbprints with raspberry or apricot jam instead. The tartness of the fruit cuts through the buttery dough just as well as the sweet icing does. This version feels a bit more rustic and is great for breakfast or brunch settings. If you go this route, brush the jam with a little apricot glaze after baking for a professional shine.
Citrus Zest Infusion: Add a tablespoon of fresh lime or lemon zest directly into the dough. This amplifies the “green” theme not just visually but in flavor too. It gives the cookie a zesty punch that feels incredibly refreshing, especially if you are serving these during the spring months. For more spring-inspired ideas, you should definitely peek at these adorable Easter sugar cookies that use similar bright flavors.
Chocolate Drizzle Finish: For the ultimate indulgence, make the cookies as directed with the green icing, let them set, and then drizzle melted dark chocolate over the top in a zig-zag pattern. The bitterness of the dark chocolate balances the sweetness of the icing and adds a lovely crunch.
Serving Suggestions That Wow
Presentation is half the battle when it comes to desserts, and these cookies are naturally photogenic. I love arranging them on a tiered cake stand, alternating them with plain sugar cookies or shortbread to let that green color really pop. They look stunning nestled among fresh mint leaves or edible flowers like violets.
For a full dessert spread, pair these with a hot cup of Earl Grey tea or a frothy cappuccino. The bitterness of the coffee complements the sweet icing perfectly. If you are hosting a St. Patrick’s Day party, serve them alongside a bowl of vanilla bean ice cream; the cookies crumble beautifully over the top as a makeshift sundae topping. You could even create a “cookie bar” where guests can choose their own fillings, though I personally think the green icing is the star here. If you need a larger centerpiece for your table, consider baking this mini egg cake to go alongside the cookie platter for a truly festive feast.
Keeping Them Fresh and Delicious
Storage is easy with these gems. Once the icing has completely hardened, stack your thumbprint cookies with green icing in an airtight container. Place a sheet of parchment paper between layers to prevent them from sticking together or smudging the icing. They will stay fresh at room temperature for up to five days, though I doubt they will last that long!
If you need to store them longer, these cookies freeze beautifully. Freeze the unbaked dough balls for up to three months; just bake them straight from frozen, adding a minute or two to the cooking time. You can also freeze the baked cookies (without icing) for up to two months. Thaw them overnight in the fridge, bring to room temperature, and then add the fresh icing right before serving. Avoid refrigerating the finished cookies, as the humidity can make the icing sticky and the dough lose its crisp-tender texture.
Creative Ways to Enjoy Leftovers
Don’t let any stray cookies go to waste! Crumble up any broken cookies and use them as a topping for yogurt parfaits or oatmeal bowls. The buttery crumbs add a delightful texture contrast to creamy fruits. You can also crush them finely and mix with a little melted butter to create a unique crust for a no-bake cheesecake or key lime pie. Another fun idea? Dip half of the cookie in melted white chocolate and sprinkle with crushed pistachios for a completely new treat that looks like it came from a fancy patisserie.
How Do You Make It
Thumbprint Cookies with Green Icing
These buttery, melt-in-your-mouth thumbprint cookies with green icing are the perfect balance of simple shortbread and bright, sweet decoration. Ideal for holidays or anytime you need a cheerful treat.
24
servings20
minutes12
minutes145
kcalKeep the screen of your device on
Ingredients
- For the Cookies
1 cup unsalted butter, softened
0.5 cup granulated sugar
1 teaspoon vanilla extract
0.25 teaspoon salt
2.25 cups all-purpose flour
- For the Green Icing
1 cup powdered sugar, sifted
1.5 tablespoons milk or heavy cream
0.25 teaspoon vanilla extract
Green gel food coloring (to desired shade)
Optional: 0.5 teaspoon lime zest for flavor
Directions
- Beat the softened butter and granulated sugar together until pale and fluffy, about 2 to 3 minut the vanilla extract and salt until well combined.
- Gradually add the flour to the wet ingredients in thirds, mixing on low speed just until the dough comes together.
- Scoop about one tablespoon of dough for each cookie and roll them into smooth balls.
- Place the balls onto a baking sheet lined with parchment paper, spacing them about two inches apart.
- Use your thumb to gently press an indentation into the center of each ball.
- Bake until the edges are just barely starting to turn golden brown.
- Re-press the thumbprints gently with the back of a rounded spoon if they puffed up while baking.
- Let the cookies cool completely on the baking sheet.
- Whisk together the powdered sugar, milk, vanilla, and green food coloring in a small bowl to make the icing.
- Fill each indentation with the green icing once the cookies are fully cool.
- Let the icing set for about 30 minutes before serving.
Notes
- Butter Temperature: Ensure your butter is softened but not melting. It should yield to pressure without being oily.
- Food Coloring: Gel food coloring provides a more vibrant green without altering the consistency of the icing compared to liquid drops.
- Cooling is Key: Do not ice warm cookies, or the icing will melt and slide off. Patience pays off here!
- Flour Measurement: Spoon the flour into your measuring cup and level it off with a knife rather than scooping directly from the bag to avoid packing too much flour in.
- Uniformity: Using a cookie scoop ensures all your cookies are the same size, which helps them bake evenly.
- Storage: Store in an airtight container at room temperature for up to 5 days.
Nutrition Facts
- Total number of serves: 24
- Calories: 145kcal
- Fat: 7g
- Saturated Fat: 5g
- Cholesterol: 0.20mg
- Sodium: 0.25mg
- Carbohydrates: 18g
- Fiber: 0.5g
- Sugar: 9g
- Protein: 1.5g
Like this recipe?
Follow @wikitasty on Pinterest
FAQS
Absolutely! You can make the dough up to 3 days in advance and keep it wrapped in the fridge. Just let it soften slightly before rolling into balls.
This usually happens if the butter was too warm or the dough wasn’t chilled before baking. Make sure your butter is just soft, not melted, and chill the dough balls for 20 minutes before baking.
Yes, you can use spinach powder or matcha for a natural green tint, though the color will be more muted and earthy compared to the bright neon green from gel.
Adding a tiny pinch of light corn syrup to the icing mixture can give it a glossy finish once it sets.
Yes, you can freeze the baked, un-iced cookies for up to 2 months. Ice them after thawing for the best presentation.
A Little Story About These Cookies
I remember the first time I made these, it was a rainy Sunday in March, and I was craving something that felt like spring. My apartment smelled like vanilla and butter for hours, and when I finally piped that bright green icing into the centers, it felt like I had captured a little bit of luck and joy in a cookie jar. Since then, they’ve become my signature “hello” gift for neighbors and friends. There is something deeply comforting about the ritual of pressing your thumb into the dough—it’s a literal imprint of yourself in every bite you share.
Join the Conversation!
I would love to see how your thumbprint cookies with green icing turn out! Did you try the almond variation or maybe add some extra lime zest? Snap a photo of your creation and tag me on social media or leave a comment below with your thoughts. Baking is always better when we share our successes (and even our funny mishaps) with each other. Happy baking, everyone!
Health Benefits of the Recipe
While this is certainly a treat meant for enjoyment, there are a few silver linings! Butter provides Vitamin A and healthy fats that help absorb fat-soluble vitamins. By making these at home, you avoid the preservatives and high-fructose corn syrup often found in store-bought cookies. Plus, the act of baking itself is a wonderful stress reliever, promoting mental well-being and mindfulness as you focus on the textures and smells of the ingredients.
Final Thoughts
There you have it, friends! These thumbprint cookies with green icing are more than just a dessert; they are a little burst of happiness you can create right in your own kitchen. Whether you are baking them for a holiday party, a quiet evening with tea, or just because you deserve something sweet, I hope they bring a smile to your face.
Remember, the best recipes are the ones shared, so don’t forget to pass this along to a fellow baking enthusiast. And if you loved these, you might want to try my other festive favorites next. Until then, keep your ovens warm and your hearts full!