
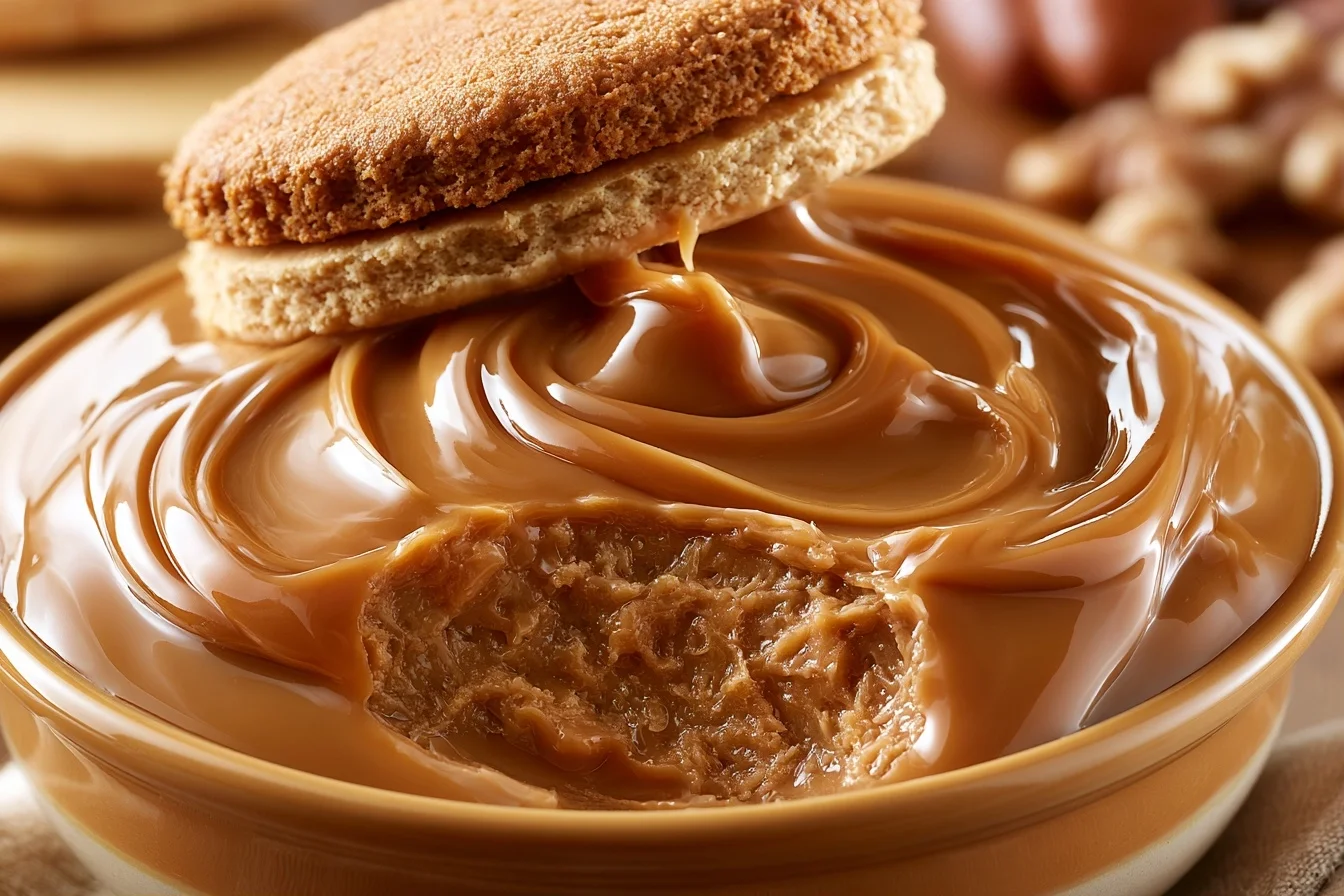
- Keep the can fully submerged in simmering water for the entire 3 to 4 hour cook to ensure even caramelization and safety.
- Start with quality full-fat unsweetened condensed milk; the single ingredient determines richness and final texture.
- Cool the sealed can completely, then refrigerate at least two hours before opening to avoid burns and achieve perfect spoonable consistency.
Last Updated on July 26, 2026 by Simon
This post contains affiliate links. As an Amazon Associate, we earn from qualifying purchases. This means we may earn a small commission if you purchase through our links, at no extra cost to you.
Making homemade dulce de leche transforms a simple ingredient into liquid gold. This silky caramel sauce captures the essence of Latin American desserts with just one or two items you likely have at home. Whether you’re new to this caramel spread or a longtime fan, learning to make it yourself opens up endless possibilities for your kitchen.
I still remember the first time I tasted authentic dulce de leche at a small café in Buenos Aires. The richness, the depth of flavor, the way it clung to every spoonful—it was pure magic. From that moment, I knew I had to master making it myself. The beautiful truth? You don’t need fancy equipment or hard-to-find ingredients to create this beloved Latin American treasure.
Homemade dulce de leche beats store-bought versions every single time. The flavor is deeper, creamier, and more complex. Plus, you control exactly what goes into it. Today, I’m sharing my favorite method for making this condensed milk caramel at home, along with tips and tricks I’ve picked up over years of cooking.
Table of contents
- Why You'll Love This Recipe
- Making Homemade Dulce de Leche the Easy Way
- Tips for Perfect Homemade Dulce de Leche Every Time
- Creative Ways to Use Your Homemade Dulce de Leche
- Understanding the Nutrition in Your Homemade Dulce de Leche
- Delicious Ways to Enjoy Your Homemade Dulce de Leche Creation
- Storing Your Homemade Dulce de Leche for Maximum Freshness
- Common Questions About Making Homemade Dulce de Leche
Why You’ll Love This Recipe
- You need just one simple ingredient to make homemade dulce de leche, making it incredibly budget-friendly and accessible for any home cook looking to create restaurant-quality caramel sauce.
- This sweet condensed milk transformation takes only three to four hours, and most of that time is hands-off cooking while you relax or prepare other dishes for your meal.
- Unlike store-bought versions that contain additives and preservatives, your homemade version stays fresh in the refrigerator for up to two weeks, giving you caramel perfection whenever you need it.
- This versatile caramel works beautifully in desserts, pastries, ice cream toppings, and breakfast treats, making it a kitchen staple that earns its place in your pantry.
- The boiling water method is completely safe and foolproof, requiring no special skills or equipment beyond a pot, can, and thermometer to achieve perfect results every single time.
Making Homemade Dulce de Leche the Easy Way
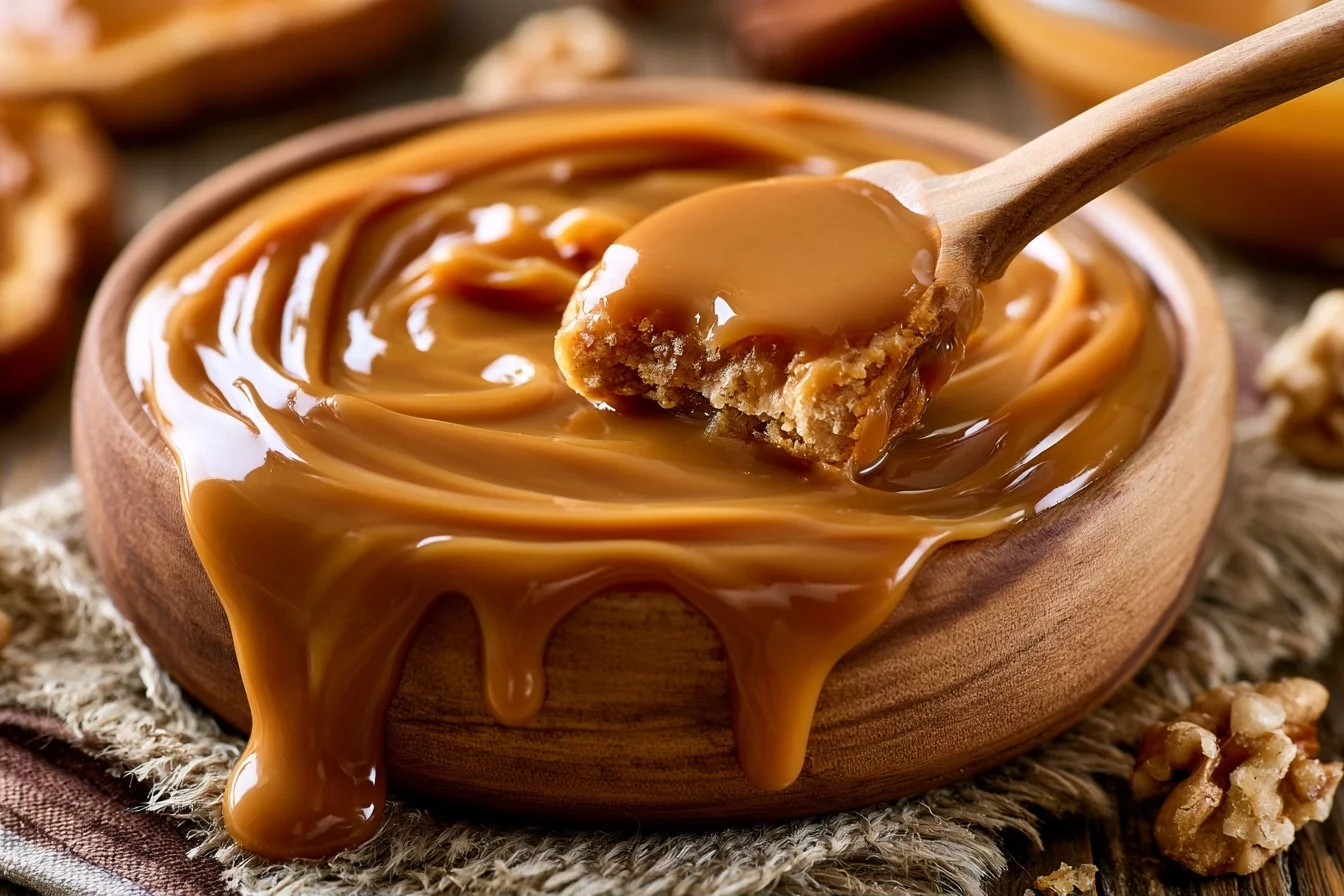

Homemade Dulce de Leche
This simple one-ingredient recipe transforms unsweetened condensed milk into silky, rich dulce de leche through gentle boiling. Perfect for topping desserts, ice cream, or enjoying straight from the jar, this Latin American classic comes together with minimal effort and maximum flavor.
32
servings5
minutes3
hours30
minutes60
kcalKeep the screen of your device on
Ingredients
1 can unsweetened condensed milk
2 tablespoons water
Directions
- Remove the label from your can of unsweetened condensed milk and rinse it thoroughly under cool water. Pat it completely dry with a clean kitchen towel to prevent rust during cooking.
- Fill a large pot with enough water to cover the can by at least two inches. Place the pot on the stovetop and bring the water to a gentle boil over medium-high heat.
- Carefully place the sealed can into the boiling water using tongs or a slotted spoon. Ensure the can remains fully submerged at all times throughout the entire cooking process.
- Maintain a gentle boil and check the water level every 45 minutes. Add more hot water as needed to keep the can covered by at least two inches. Never allow the water level to drop below the top of the can.
- Cook for three to four hours depending on your desired thickness. Three hours produces a pourable sauce, while four hours creates a thicker, spreadable consistency. Most cooks prefer three and a half hours for the perfect balance.
- Remove the pot from heat and allow the water to cool to room temperature. Leave the can submerged in the cooling water for at least one hour before carefully removing it with tongs.
Notes
- Always use unsweetened condensed milk, not sweetened condensed milk, which will produce grainy, overly thick results.
- Never allow the can to sit above the water line during cooking, as this can cause dangerous pressure buildup and uneven cooking.
- For safety, always keep the sealed can fully submerged in water throughout the entire cooking process.
- The caramel will be very hot when first removed from the water, so allow adequate cooling time before handling.
- You can also make this in the oven at 425 degrees Fahrenheit using the same submerged can method for three to four hours.
Nutrition Facts
- Serving Size: 1
- Total number of serves: 32
- Calories: 60kcal
- Fat: 2g
- Carbohydrates: 10g
- Fiber: 0g
- Protein: 1g
Like this recipe?
Follow @wikitasty on Pinterest
Tips for Perfect Homemade Dulce de Leche Every Time
Making homemade dulce de leche successfully comes down to a few key techniques and tricks I’ve learned through plenty of experimentation. The most important rule is keeping the can fully submerged in water throughout the entire cooking process. This prevents the can from overheating and ensures even, gentle caramelization. Let me share my professional secrets for nailing this recipe.
Keep the Can Completely Submerged
Never let the top of your can peek above the water line. Even a small exposed section can cause the condensed milk to scorch or the can to overheat dangerously. I recommend checking the water level every 45 minutes and adding more hot water as needed. This simple step makes the difference between silky caramel and grainy, burnt results.
Use a Reliable Thermometer
A good instant-read thermometer takes the guesswork out of timing. Water should maintain a gentle boil at around 212 degrees Fahrenheit. If your water temperature drops below 200 degrees, increase the heat slightly. This ensures consistent cooking and prevents undercooked dulce de leche that’s still too thin.
Label Your Can Before Cooking
Use a permanent marker to write the start time on your can. This helps you track cooking time accurately and prevents confusion if you’re making multiple batches. I also write the finish time once it’s done, which helps me remember exactly how long my specific stove took to create perfect dulce de leche.
Cool It Completely Before Opening
Patience here prevents burns and ensures better flavor development. Allow the can to cool to room temperature in the water before removing it. Then refrigerate the unopened can for at least two hours. The caramel continues to thicken as it cools, giving you that perfect spoonable consistency.
Start with Quality Condensed Milk
The ingredient quality matters tremendously here since condensed milk is literally your only ingredient. Choose a brand you trust, and avoid anything with added ingredients or stabilizers. Full-fat condensed milk produces richer, creamier results than reduced-fat versions. This one choice impacts your final product significantly.
Creative Ways to Use Your Homemade Dulce de Leche
Once you’ve mastered making homemade dulce de leche, the fun really begins. This versatile caramel works in sweet applications you might not have considered. Therefore, I encourage you to experiment beyond the traditional uses. Here are some creative variations and applications that showcase this magical ingredient.
Layered Desserts and Pastries
Spread homemade dulce de leche between layers of puff pastry, shortbread, or sponge cake for elegant desserts. You can also swirl it into brownie batter before baking or layer it with whipped cream and graham crackers for an easy icebox cake. The caramel’s richness pairs beautifully with chocolate, vanilla, and coffee flavors in any dessert application.
Ice Cream and Frozen Treats
Drizzle homemade dulce de leche over vanilla ice cream for an instant upgrade. In addition, you can swirl it directly into soft-serve ice cream or use it as a topping for chocolate-covered strawberries for a decadent treat. For a frozen dessert, layer dulce de leche with whipped cream and crushed cookies in a freezer-safe container, then freeze for four hours.
Breakfast and Brunch Applications
Spread homemade dulce de leche on toast, crepes, or waffles for a sophisticated breakfast. Swirl it into oatmeal or yogurt parfaits for added richness and flavor. You can also use it as a filling for churros or drizzle it over pancakes alongside strawberry syrup for a Latin-inspired morning meal.
Coffee and Beverage Enhancements
Stir a spoonful of homemade dulce de leche into hot coffee or espresso for a café-quality drink at home. Add it to hot chocolate for a caramel twist, or blend it into cold coffee drinks and smoothies. This versatile caramel transforms ordinary beverages into special treats worthy of a coffee shop, and you can make crockpot hot chocolate even more luxurious with a swirl of dulce de leche.
Sandwich and Snack Ideas
Layer homemade dulce de leche with cheese on crackers for an unexpected sweet and savory combination. Spread it on cookies or between two butter biscuits for a simple, satisfying snack. You can also use it as a filling for empanadas or pastries, creating handheld treats perfect for parties or lunchboxes.
Understanding the Nutrition in Your Homemade Dulce de Leche
Since homemade dulce de leche comes from condensed milk that’s been slowly caramelized, it’s a rich, indulgent treat meant for portion control and moderation. One tablespoon contains approximately 60 calories, with most coming from carbohydrates and fat. The caramelization process doesn’t add nutrients, but it does concentrate the milk’s natural sugars, creating that distinctive sweet flavor.
Each tablespoon provides about 10 grams of carbohydrates, primarily from lactose and added sugar in the condensed milk. Fat content sits around 2.5 grams per tablespoon, including saturated fat from the dairy base. Protein amounts to roughly 1 gram per tablespoon, a small contribution from the milk solids. While dulce de leche isn’t a health food, it’s a delicious occasional indulgence that transforms simple ingredients into something special.
Remember that portion size is key when enjoying this caramel sauce. A little goes a long way thanks to its intense sweetness and richness. Two tablespoons drizzled over ice cream or dessert provides satisfying flavor without excessive calories. Think of homemade dulce de leche as a luxury ingredient used strategically rather than consumed by the spoonful, and you’ll enjoy it guilt-free as part of a balanced diet.
Delicious Ways to Enjoy Your Homemade Dulce de Leche Creation
The beauty of making homemade dulce de leche is having this versatile caramel ready whenever inspiration strikes. First, consider your immediate dessert needs and what flavors you’re craving. A simple vanilla ice cream becomes restaurant-worthy with a generous drizzle. Alternatively, swirl it into cheesecake batter for a dulce de leche-marbled masterpiece that impresses dinner guests.
For everyday enjoyment, spread homemade dulce de leche on toast with a sprinkle of sea salt for a sophisticated breakfast. Layer it between two butter cookies for an instant sandwich cookie that rivals bakery versions. You can also fill crepes, top churros, or use it as a dipping sauce for fresh fruit and pound cake. The possibilities expand once you realize how naturally this caramel complements both sweet and slightly savory applications.
Storing Your Homemade Dulce de Leche for Maximum Freshness
Proper storage keeps your homemade dulce de leche fresh and ready to use for weeks. Transfer the cooled caramel to a clean glass jar with a tight-fitting lid. Store it in the refrigerator where it will keep for up to three weeks without any issues. The cold temperature slows down any browning or crystallization, maintaining that smooth, creamy texture you worked hard to achieve.
For longer storage, freeze homemade dulce de leche in ice cube trays for convenient portions. Once frozen solid, pop the cubes into a freezer-safe container and store for up to three months. This method lets you thaw exactly what you need rather than opening a large jar. Simply place a frozen cube in the refrigerator overnight to thaw, or warm it gently over low heat for immediate use.
To reheat dulce de leche, place the desired amount in a small saucepan over low heat, stirring occasionally until it reaches the perfect consistency. Alternatively, microwave it in 15-second intervals, stirring between each burst. Never use high heat, as this can cause the caramel to become grainy or separate. Room temperature dulce de leche is perfectly spreadable, so you might not need reheating at all depending on your application.
Common Questions About Making Homemade Dulce de Leche
I receive lots of questions about making homemade dulce de leche, and I’m happy to address the most common concerns below. Whether you’re worried about safety, cooking time, or ingredient substitutions, you’ll find practical answers that help you succeed.
Yes, boiling a sealed can is completely safe when done correctly. The key is keeping the can fully submerged in water throughout cooking. Never let the can sit above the water line, and always use a pot large enough to maintain at least two inches of water above the can at all times. The water acts as a heat buffer, preventing dangerous pressure buildup inside the can.
The cooking time ranges from three to four hours depending on how thick you prefer your caramel. Shorter cooking times produce a thinner, pourable sauce, while longer cooking creates a thicker, spreadable consistency. Most home cooks aim for three and a half hours as the sweet spot. After removing the can from the water, allow it to cool completely before opening for the best texture.
No, you need unsweetened condensed milk for this recipe. Sweetened condensed milk already contains added sugar and will become overly thick and grainy when boiled. The unsweetened version relies on the natural lactose in milk, which caramelizes beautifully during cooking to create the perfect texture and flavor. Always check your can label carefully before purchasing.
Dulce de leche is made by slowly caramelizing condensed milk, resulting in a thick, creamy sauce with complex milk flavors. Traditional caramel sauce is made by heating sugar and butter together, creating a different taste and texture. Dulce de leche has a richer, more toffee-like flavor thanks to the milk solids, while caramel sauce is pure sugar-based sweetness. Both are delicious, but they’re distinct products with different applications.
Yes, you can make dulce de leche in the oven using the same submerged can method. Place the sealed can in a baking dish filled with water and bake at 425 degrees Fahrenheit for three to four hours. Check the water level occasionally and add more hot water as needed to keep the can covered. The oven method works well if you prefer not to monitor a stovetop, though results are essentially identical.
Making homemade dulce de leche feels like a small kitchen miracle the first time you do it. You start with one humble ingredient and end with liquid gold that transforms everything it touches. Once you’ve mastered this simple technique, you’ll find yourself making batch after batch to keep on hand for every occasion.
I encourage you to try this recipe soon and discover why dulce de leche has captivated cooks and dessert lovers for generations. The process is straightforward, the results are spectacular, and your family will wonder how you created something this delicious at home. Welcome to the wonderful world of homemade caramel—I promise you won’t look back.