
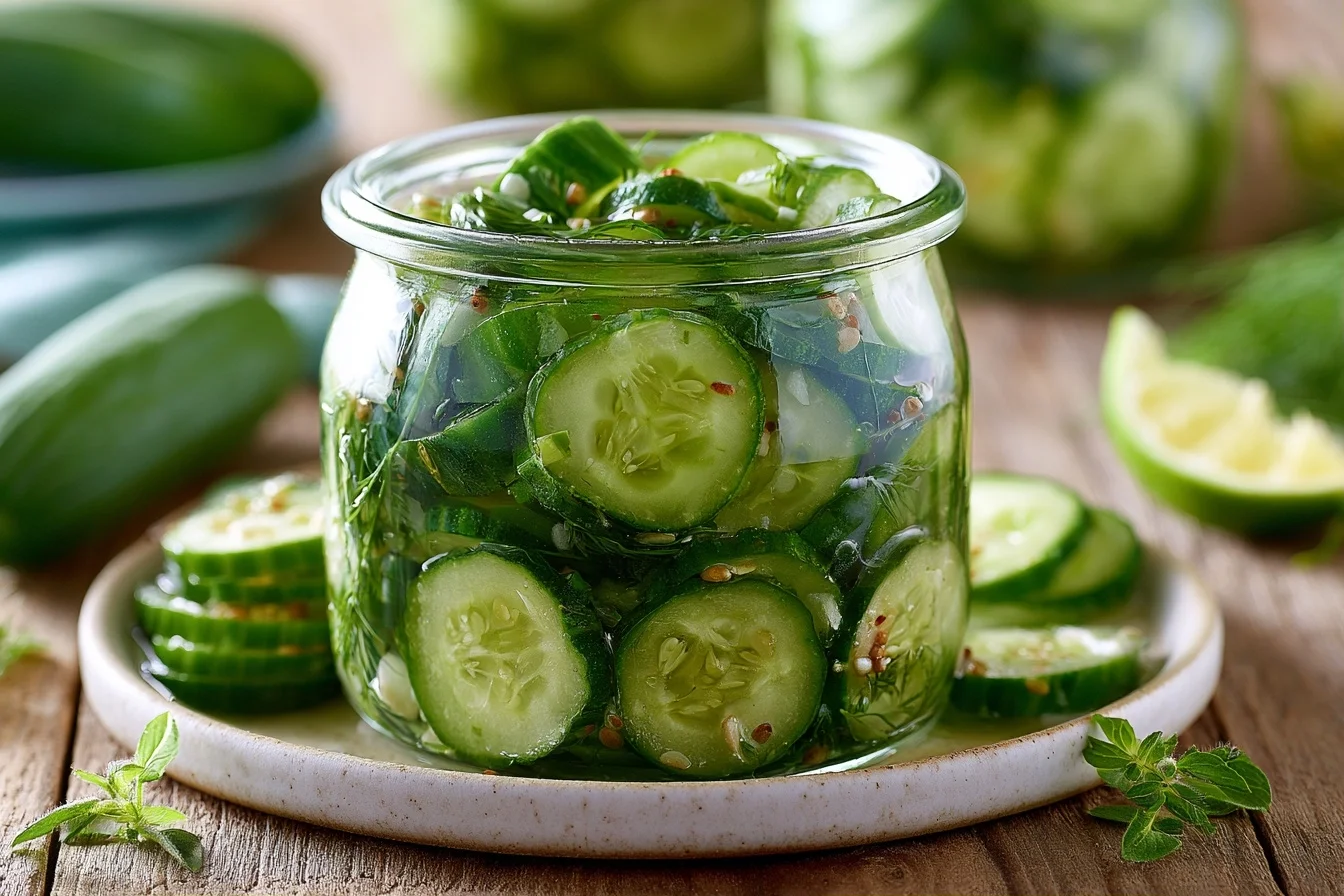
- Quick, homemade bread and butter pickles using simple pantry ingredients and no special canning equipment.
- For crisp pickles use fresh pickling cucumbers, uniform quarter inch slices, a 30 minute ice bath, and cooled brine.
- Wait at least 24 hours for flavors to develop; peak at three days and store refrigerated up to six weeks.
- Endless customization: add dill, mustard seed, garlic, honey, or mixed vegetables; brine can be reused once or twice for more batches.
Last Updated on July 27, 2026 by Simon
This post contains affiliate links. As an Amazon Associate, we earn from qualifying purchases. This means we may earn a small commission if you purchase through our links, at no extra cost to you.
There’s something magical about homemade bread and butter refrigerator pickles. These tangy, slightly sweet pickles capture the essence of summer in a jar and deliver pure comfort with every crisp bite. Unlike traditional canned pickles that require special equipment and processing knowledge, bread and butter refrigerator pickles come together in minutes and live happily in your fridge for weeks.
I first fell in love with these pickles at a farmers market in Vermont, where a local vendor was handing out samples of her homemade quick pickles. The moment that crunchy cucumber hit my tongue, followed by that perfect balance of vinegar, sugar, and spices, I was hooked. Since that day, I’ve made batch after batch in my own kitchen, tweaking the recipe to perfection. Now I want to share this simple, foolproof method with you.
The beauty of bread and butter refrigerator pickles lies in their simplicity and versatility. You don’t need any special canning skills or equipment. Just cucumbers, vinegar, sugar, and a handful of spices transform into something extraordinary. Whether you’re looking for a tangy side dish, a crunchy topping for burgers, or a conversation starter at your next potluck, these quick pickles deliver every single time.
Table of contents
- Why You'll Love This Recipe
- Let's Make These Crispy Refrigerator Pickles
- Tips for Perfect Bread and Butter Refrigerator Pickles
- Creative Variations on Classic Bread and Butter Pickles
- Understanding the Nutrition in Your Pickles
- Serving Your Homemade Pickles at Their Best
- Keeping Your Pickles Fresh and Flavorful
- Frequently Asked Questions About Bread and Butter Pickles
Why You’ll Love This Recipe
- These refrigerator pickles come together in just 15 minutes of active time, making them perfect for spontaneous cravings or last-minute entertaining when you need an impressive homemade side dish.
- Unlike traditional canned pickles, you need no special equipment, no sterilizing process, and no mysterious canning knowledge—just a jar, a pot, and basic ingredients from your pantry.
- The pickles stay fresh and crispy in your refrigerator for up to six weeks, giving you weeks of tangy, satisfying snacks or condiments ready whenever you need them.
- The sweet and tangy flavor profile pairs beautifully with everything from pulled pork sandwiches to charcuterie boards, making these quick pickles endlessly versatile for any meal.
- You can customize the spice level, sweetness, and flavor profile by adjusting the vinegar ratio, adding extra dill or mustard seeds, or including hot peppers for a spicy kick.
Let’s Make These Crispy Refrigerator Pickles
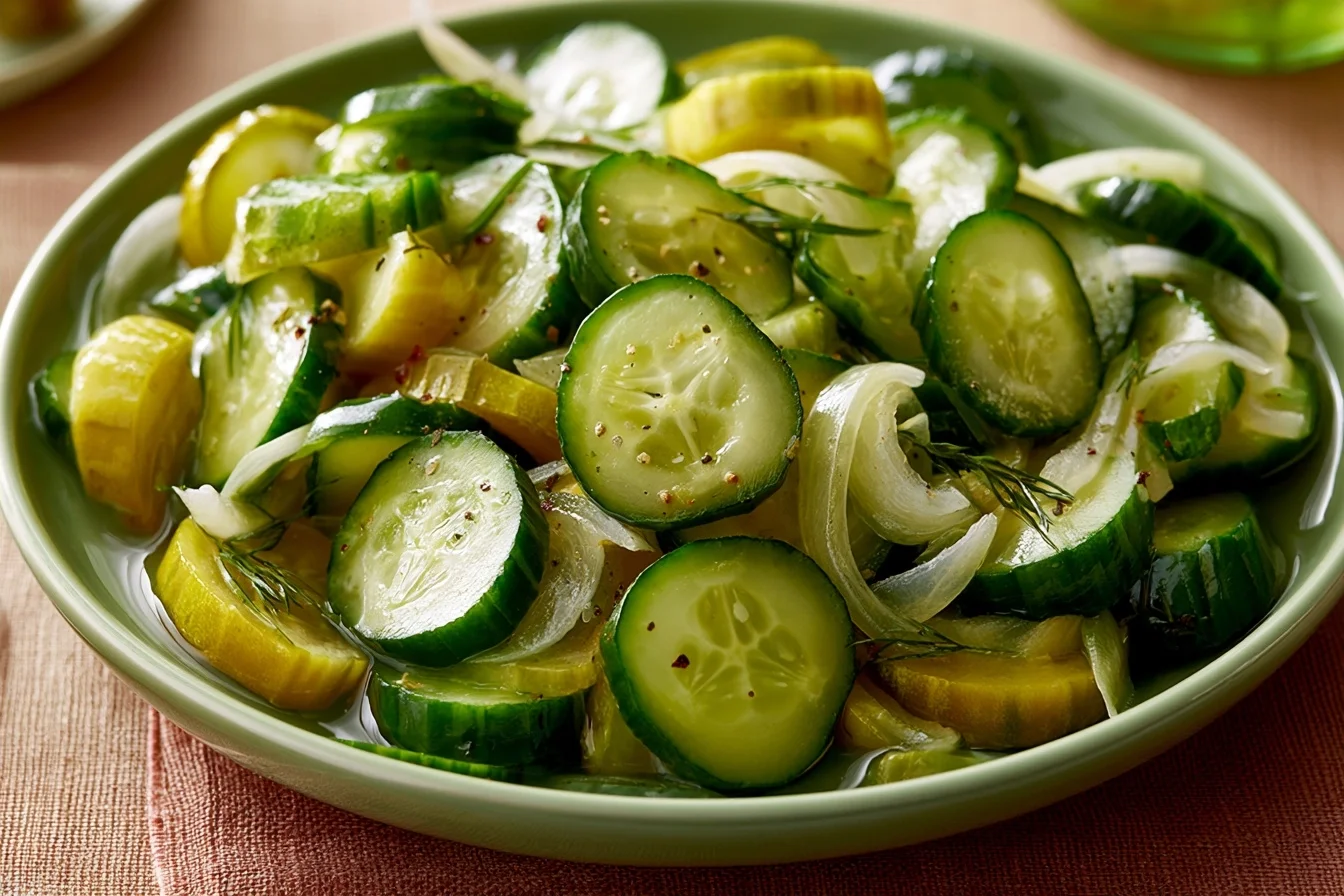

Bread and Butter Refrigerator Pickles
These crispy, tangy-sweet bread and butter refrigerator pickles come together in just 15 minutes with no special equipment needed. Perfect for snacking, topping sandwiches, or adding to charcuterie boards, they stay fresh in your fridge for up to six weeks.
32
servings15
minutes5
minutes30
kcalKeep the screen of your device on
Ingredients
2 pounds pickling cucumbers
1.5 cups white vinegar
1 cup sugar
1 tablespoon kosher salt
1 tablespoon mustard seeds
1 teaspoon celery seeds
4 cloves garlic
0.5 teaspoon turmeric
0.5 teaspoon red pepper flakes
Directions
- Prepare your cucumbers by slicing them into quarter-inch rounds. Place the sliced cucumbers in a large bowl and cover with ice water. Let them sit for at least 30 minutes to plump up and stay crispy during pickling.
- Combine vinegar, sugar, and salt in a medium saucepan. Heat over medium-high heat, stirring occasionally, until the sugar and salt dissolve completely, about 3-4 minutes. Do not let the mixture boil vigorously.
- Add the spices to the hot brine, including mustard seeds, celery seeds, turmeric if using, and red pepper flakes if desired. Stir well to combine. Remove from heat and let the brine cool to room temperature, about 15-20 minutes.
- Drain the cucumbers thoroughly from the ice water and pat them dry with paper towels. Arrange them in clean glass jars along with the sliced garlic cloves.
- Pour the cooled brine over the cucumbers, making sure they’re completely covered. If needed, add a bit more vinegar to ensure full submersion. Cover the jars with tight-fitting lids.
- Refrigerate immediately and wait at least 24 hours before opening. The pickles taste best after 48-72 hours when the flavors have fully developed. They’ll continue to improve for up to two weeks.
Notes
- Always use fresh, firm cucumbers picked within one to two days of pickling for the crispiest results.
- The brine can be reused once or twice for additional batches, though you may want to add extra vinegar or sugar to refresh the flavor.
- Store pickles fully submerged in their brine in glass jars on a refrigerator shelf, not the door. They’ll keep for up to six weeks.
- These are refrigerator pickles and must be kept chilled at all times. They are not shelf-stable without proper canning procedures.
Nutrition Facts
- Serving Size: 1
- Total number of serves: 32
- Calories: 30kcal
- Fat: 0g
- Carbohydrates: 7g
- Fiber: 1g
- Protein: 0g
Like this recipe?
Follow @wikitasty on Pinterest
Tips for Perfect Bread and Butter Refrigerator Pickles
Making exceptional bread and butter refrigerator pickles comes down to a few key techniques. First, understand that the quality of your cucumbers directly impacts your final result. Therefore, I always recommend using fresh, firm cucumbers picked within the last day or two. Second, the brine ratio matters tremendously. The right balance of vinegar, sugar, and salt creates that signature tangy-sweet flavor that makes these pickles so addictive.
Choose the Right Cucumbers
Pickling cucumbers, also called Kirby or gherkin cucumbers, work best for bread and butter refrigerator pickles. These shorter, stubbier varieties have thinner skins and fewer seeds than slicing cucumbers. They stay crispier during the pickling process. If you can’t find pickling cucumbers, small to medium slicing cucumbers work in a pinch, though they’ll be slightly softer. Always pick cucumbers that feel firm and have no soft spots.
Slice Consistently for Even Pickling
Uniform thickness ensures even flavor absorption throughout your batch. I slice my cucumbers into quarter-inch rounds using a sharp knife or mandoline. Thinner slices pickle faster but can become too soft. Thicker slices take longer to develop flavor. Quarter-inch is the sweet spot that balances crunch with flavor penetration.
Don’t Skip the Ice Bath
After slicing your cucumbers, place them in a bowl of ice water for 30 minutes before pickling. This plumps up the cucumber cells and keeps them crispy. The cold temperature also helps them maintain their vibrant green color throughout the pickling process. This simple step makes a noticeable difference in texture.
Use Quality Vinegar for Better Flavor
The vinegar you choose shapes the entire flavor profile of your pickles. I prefer white vinegar for its clean, bright tang, but apple cider vinegar adds warmth and complexity. Rice vinegar creates a gentler flavor. Whatever you choose, use vinegar with 5% acidity for proper preservation. Avoid specialty vinegars like balsamic, as they’re too strong and can cloud your brine.
Chill Your Brine Before Adding Cucumbers
After heating your vinegar, sugar, and spices, let the brine cool to room temperature before pouring it over your cucumbers. Hot brine will cook the cucumbers slightly, making them softer. Room-temperature brine preserves that desirable crunch. You can even chill the brine in the refrigerator for 30 minutes before using it for extra-crispy results.
Wait at Least 24 Hours Before Tasting
I know it’s tempting to crack open that jar immediately, but patience rewards you here. The flavors need at least 24 hours to fully develop and penetrate the cucumber slices. At 48 hours, the pickles taste even better. By day three, they’ve reached their flavor peak. They’ll continue to develop and intensify over the following weeks.
Creative Variations on Classic Bread and Butter Pickles
The beauty of bread and butter refrigerator pickles is their flexibility. Once you master the basic recipe, you can experiment endlessly with flavors and ingredients. In addition to the classic version, here are some delicious directions you can take your pickles. Each variation maintains that signature tangy-sweet balance while introducing new dimensions of flavor.
Spicy Dill Variation
Add fresh dill sprigs, red pepper flakes, and sliced jalapeños to your brine for a pickle with serious kick. The dill provides an herbaceous note while the peppers bring heat. This version pairs beautifully with crispy fried pickles or as a topping for tacos. Use about 3-4 dill sprigs and 2-3 sliced jalapeños per quart jar.
Mustard Seed and Turmeric Version
For a more sophisticated flavor profile, replace some of the pickling spices with yellow mustard seeds and a quarter teaspoon of turmeric. The turmeric adds a subtle earthy warmth and beautiful golden color. Mustard seeds contribute a peppery crunch. This variation works wonderfully alongside classic potato salad with mustard dressing at summer barbecues.
Garlic and Black Pepper Variation
Increase the garlic cloves to 6-8 per jar and add a tablespoon of freshly cracked black pepper to your brine. This creates a bold, savory pickle that leans less sweet. The garlic becomes mellow and slightly sweet as it pickles. This version tastes amazing with charcuterie boards or alongside hearty sandwiches.
Honey and Ginger Variation
Replace half the sugar with honey and add thin slices of fresh ginger to your brine. The honey adds complexity and a subtle floral note while ginger brings warmth and slight spice. This variation creates a more complex flavor profile than the basic recipe. The pickles develop a sophisticated taste that impresses even pickle skeptics.
Mixed Vegetable Version
Beyond cucumbers, try pickling thin carrot sticks, cauliflower florets, or pearl onions using the same brine. The bread and butter brine works beautifully with almost any crisp vegetable. Mix and match vegetables in one jar for a colorful, crunchy pickle medley. This approach works wonderfully for fresh cucumber salad recipes that need extra texture and complexity.
Understanding the Nutrition in Your Pickles
Bread and butter refrigerator pickles are remarkably low in calories while delivering satisfying flavor. A single serving of about four ounces (roughly a quarter cup) contains approximately 30 calories. Since most of the pickle is water and cucumbers, the calorie count stays minimal even with the sugar in the brine.
The nutritional profile breaks down nicely for most dietary approaches. You’ll find less than one gram of protein per serving, which is typical for vegetable pickles. The carbohydrates come primarily from the sugar in the brine, totaling about 7 grams per serving. Fat content is essentially zero, making these pickles naturally fat-free.
One serving provides approximately 2 grams of fiber from the cucumber itself. The sugar content sits around 6 grams per serving, mostly from the brine rather than the cucumber. Net carbs come to about 5 grams per serving. Additionally, the vinegar in the brine may offer digestive benefits and help with blood sugar management, though more research continues in this area.
These quick pickles also contain sodium from the salt in the brine, which helps preserve them and enhance flavor. If you’re watching sodium intake, you can reduce the salt slightly, though this may affect preservation time. The spices add negligible calories but contribute antioxidants and beneficial compounds. Overall, bread and butter refrigerator pickles make an excellent low-calorie, satisfying snack or condiment for almost any eating plan.
Serving Your Homemade Pickles at Their Best
These tangy refrigerator pickles shine in countless situations beyond just eating straight from the jar. First, consider them as a topping for hot dogs, burgers, and sandwiches where their crisp texture and bright flavor cut through rich meats beautifully. The sweetness balances savory elements perfectly. They also work wonderfully on charcuterie and cheese boards, providing a palate-cleansing contrast to creamy cheeses and cured meats.
In the kitchen, bread and butter pickles elevate casual weeknight meals into something special. Chop them finely and mix into tuna or chicken salad for added crunch and flavor. Layer them into pulled pork sandwiches where they provide necessary acidity and texture. Top nachos, tacos, or grain bowls with sliced pickles for a finishing touch that brings everything together.
For entertaining, serve your homemade pickles in a small bowl as part of an appetizer spread. Guests love discovering homemade versions of familiar foods. You can also drain the pickles and toss them into salads, add them to deviled eggs, or use them as a garnish for cocktails. The brine itself becomes liquid gold—use it to dress salads or marinate vegetables for added tang and complexity.
Keeping Your Pickles Fresh and Flavorful
Proper storage ensures your bread and butter refrigerator pickles stay crispy and delicious for weeks. Always store them in a glass jar with a tight-fitting lid, keeping them fully submerged in their brine. The brine protects the cucumbers from air exposure and bacterial growth. Store your jar on a refrigerator shelf rather than the door, where temperature fluctuates more frequently.
Your homemade pickles will stay fresh and safe to eat for up to six weeks in the refrigerator. The vinegar acts as a natural preservative, preventing spoilage. However, the quality and crispness peak during the first three to four weeks. After that, the pickles gradually soften, though they remain safe and flavorful. If you notice any cloudiness in the brine, mold, or off odors, discard the batch immediately.
Since these are refrigerator pickles rather than shelf-stable canned pickles, freezing isn’t recommended. The freezing process breaks down the cucumber cell structure, resulting in mushy pickles when thawed. Instead, focus on making smaller batches more frequently so you always have fresh pickles on hand. This approach also lets you experiment with different flavor variations throughout the season.
Frequently Asked Questions About Bread and Butter Pickles
I get lots of questions about making these quick pickles at home. Below, I’ve answered the most common concerns and curiosities people have about the process, ingredients, and storage. These answers should help you troubleshoot any issues and get the best results from your batch.
Yes, you can use regular slicing cucumbers, though pickling cucumbers work better. Slicing cucumbers have more seeds and thinner flesh, so they’ll be slightly softer in the final product. They still taste delicious, just less crispy than traditional pickling varieties. If using slicing cucumbers, slice them a bit thicker to compensate for the softer texture.
Soft pickles usually result from one of three issues. First, you may have used old cucumbers or left them too long before pickling. Second, the brine might have been too hot when poured over the cucumbers, cooking them slightly. Third, you may not have given them enough time in the ice bath before pickling. Try cooling your brine to room temperature and using the freshest cucumbers available for crispier results.
These quick pickles stay fresh and safe to eat for up to six weeks in the refrigerator. However, they taste best during the first three to four weeks when they’re crispiest and the flavors are most vibrant. After four weeks, they gradually soften but remain safe and flavorful. Always store them fully submerged in their brine in a tightly sealed glass jar.
Absolutely! The brine can be reused once or twice for additional batches of bread and butter refrigerator pickles. Simply strain out any spices and cucumber pieces, then reheat the brine, add fresh spices if desired, and pour it over your new batch of cucumbers. The flavor may be slightly less intense than the first batch, so you might want to add a bit more vinegar or sugar to refresh it.
You can reduce the sugar, but I don’t recommend eliminating it entirely. The sugar balances the vinegar’s acidity and is part of what makes these pickles distinctive. Try reducing the sugar to three-quarters cup or half a cup if you prefer less sweetness. You could also replace some sugar with honey or another sweetener. Keep in mind that less sugar may slightly affect preservation time.
These are refrigerator pickles, not shelf-stable canned pickles, so they must be stored in the refrigerator at all times. The recipe doesn’t use the canning process required for shelf-stable preservation. They’re designed for quick preparation and short-term storage in your fridge. If you want shelf-stable pickles, you’ll need to follow proper canning procedures with sterilized jars and a water bath.
Making bread and butter refrigerator pickles at home transforms something ordinary into something extraordinary. The process teaches you that the best food often comes from the simplest techniques and the freshest ingredients. Once you’ve made your first batch, you’ll understand why people get excited about homemade pickles—they taste nothing like the store-bought versions.
I encourage you to grab some fresh cucumbers this week and give this recipe a try. Whether you stick with the classic version or experiment with the variations I’ve shared, you’re going to love having a jar of homemade pickles waiting in your fridge. There’s real joy in opening that jar weeks later and tasting something you created with your own hands. Happy pickling, and I’d love to hear how your batch turns out.